
Does it Actually Help?
Stardate Captains BLOG 5 - September 2026
One benefit of OCD, is the finished work product. The process is exhausting, however the end product is generally better. Having four V8, 5TH Generation Bronco’s 94, 95, 96(2), allows for direct comparison of things ranging from horsepower to insulation. Measuring times; temperatures; noise levels; mileage and other quantifiable factors in addition to the “feel” and driving experience, is informative.
I saw an article recently that auto insulation is one component of a “base line” versus the “luxury” model of most brands. Toyota vs Lexus was one example. Recreating plastic mounting pedestals and epoxy based fortification of 30+ year old Ford plastic interior trim before insulation, is an exercise in near spectrum-level patience and consistency sometimes. In our experience, off-roading, daily driving and overnight camping in 25-30 year old OBS Fords - insulating floors, roofs, sides, doors, shells, trim and essentially anything you can, makes a big difference. The difference in temperature regulation (especially in a four season location), sound acoustics and rattles, including stereo resonance is also significant. I have noticed measurable differences between our Broncos for example, one being insulated and receiving the air conditioning improvement work (heater core diversion valve and wrapped compressor lines), versus the stock AC, non-insulated Bronco.
There is solid video content produced by others comparing decibels, temperature differences and overall resonance and driving feel inside of 90’s full sized SUV’s that have been insulated. Keep in mind, our experiences with no less than 4 separate tire sizes with numerous different tread patterns as well as comparing 302, 351, 460 V8’s with both stock and aftermarket engines and exhaust systems. Add stock vs aftermarket sound systems to the list in addition to the fact we drive our trucks on and off road for the entire season. Crawling in Low 4 at walking speed, or finding out when a Bronco with an additional 100 horsepower stops accelerating at top speed, provides a lot of data points in between those two extremes. Five vehicles including the 93 F350 460 and four SUV’s that rolled off the assembly line nearly identical.
Everything seems gratuitously expensive currently including replacement, or even used trim pieces. Some of the aftermarket stuff is frankly - “cheap garbage.” Being these 90’s Fords were never known for the fit and finish of plastic interiors and in some cases there were mid year changes, some of the quality aftermarket parts require fitting and modifications to install. If a manufacturer uses two parts per vehicle over a million vehicles instead of four, the manufacturer saves money. Despite the fact that four pieces worked better. The 90’s Ford engineers did some really cool stuff on these trucks, however saving money in production was also an objective. Building on millions of dollars of engineering research and application by merely adding a few more things, or “geeking out” while over insulating or reinforcing structures, is something everyone can do. It does actually help and makes a significant, enjoyable difference in my opinion.
Respectfully Submitted
Todd
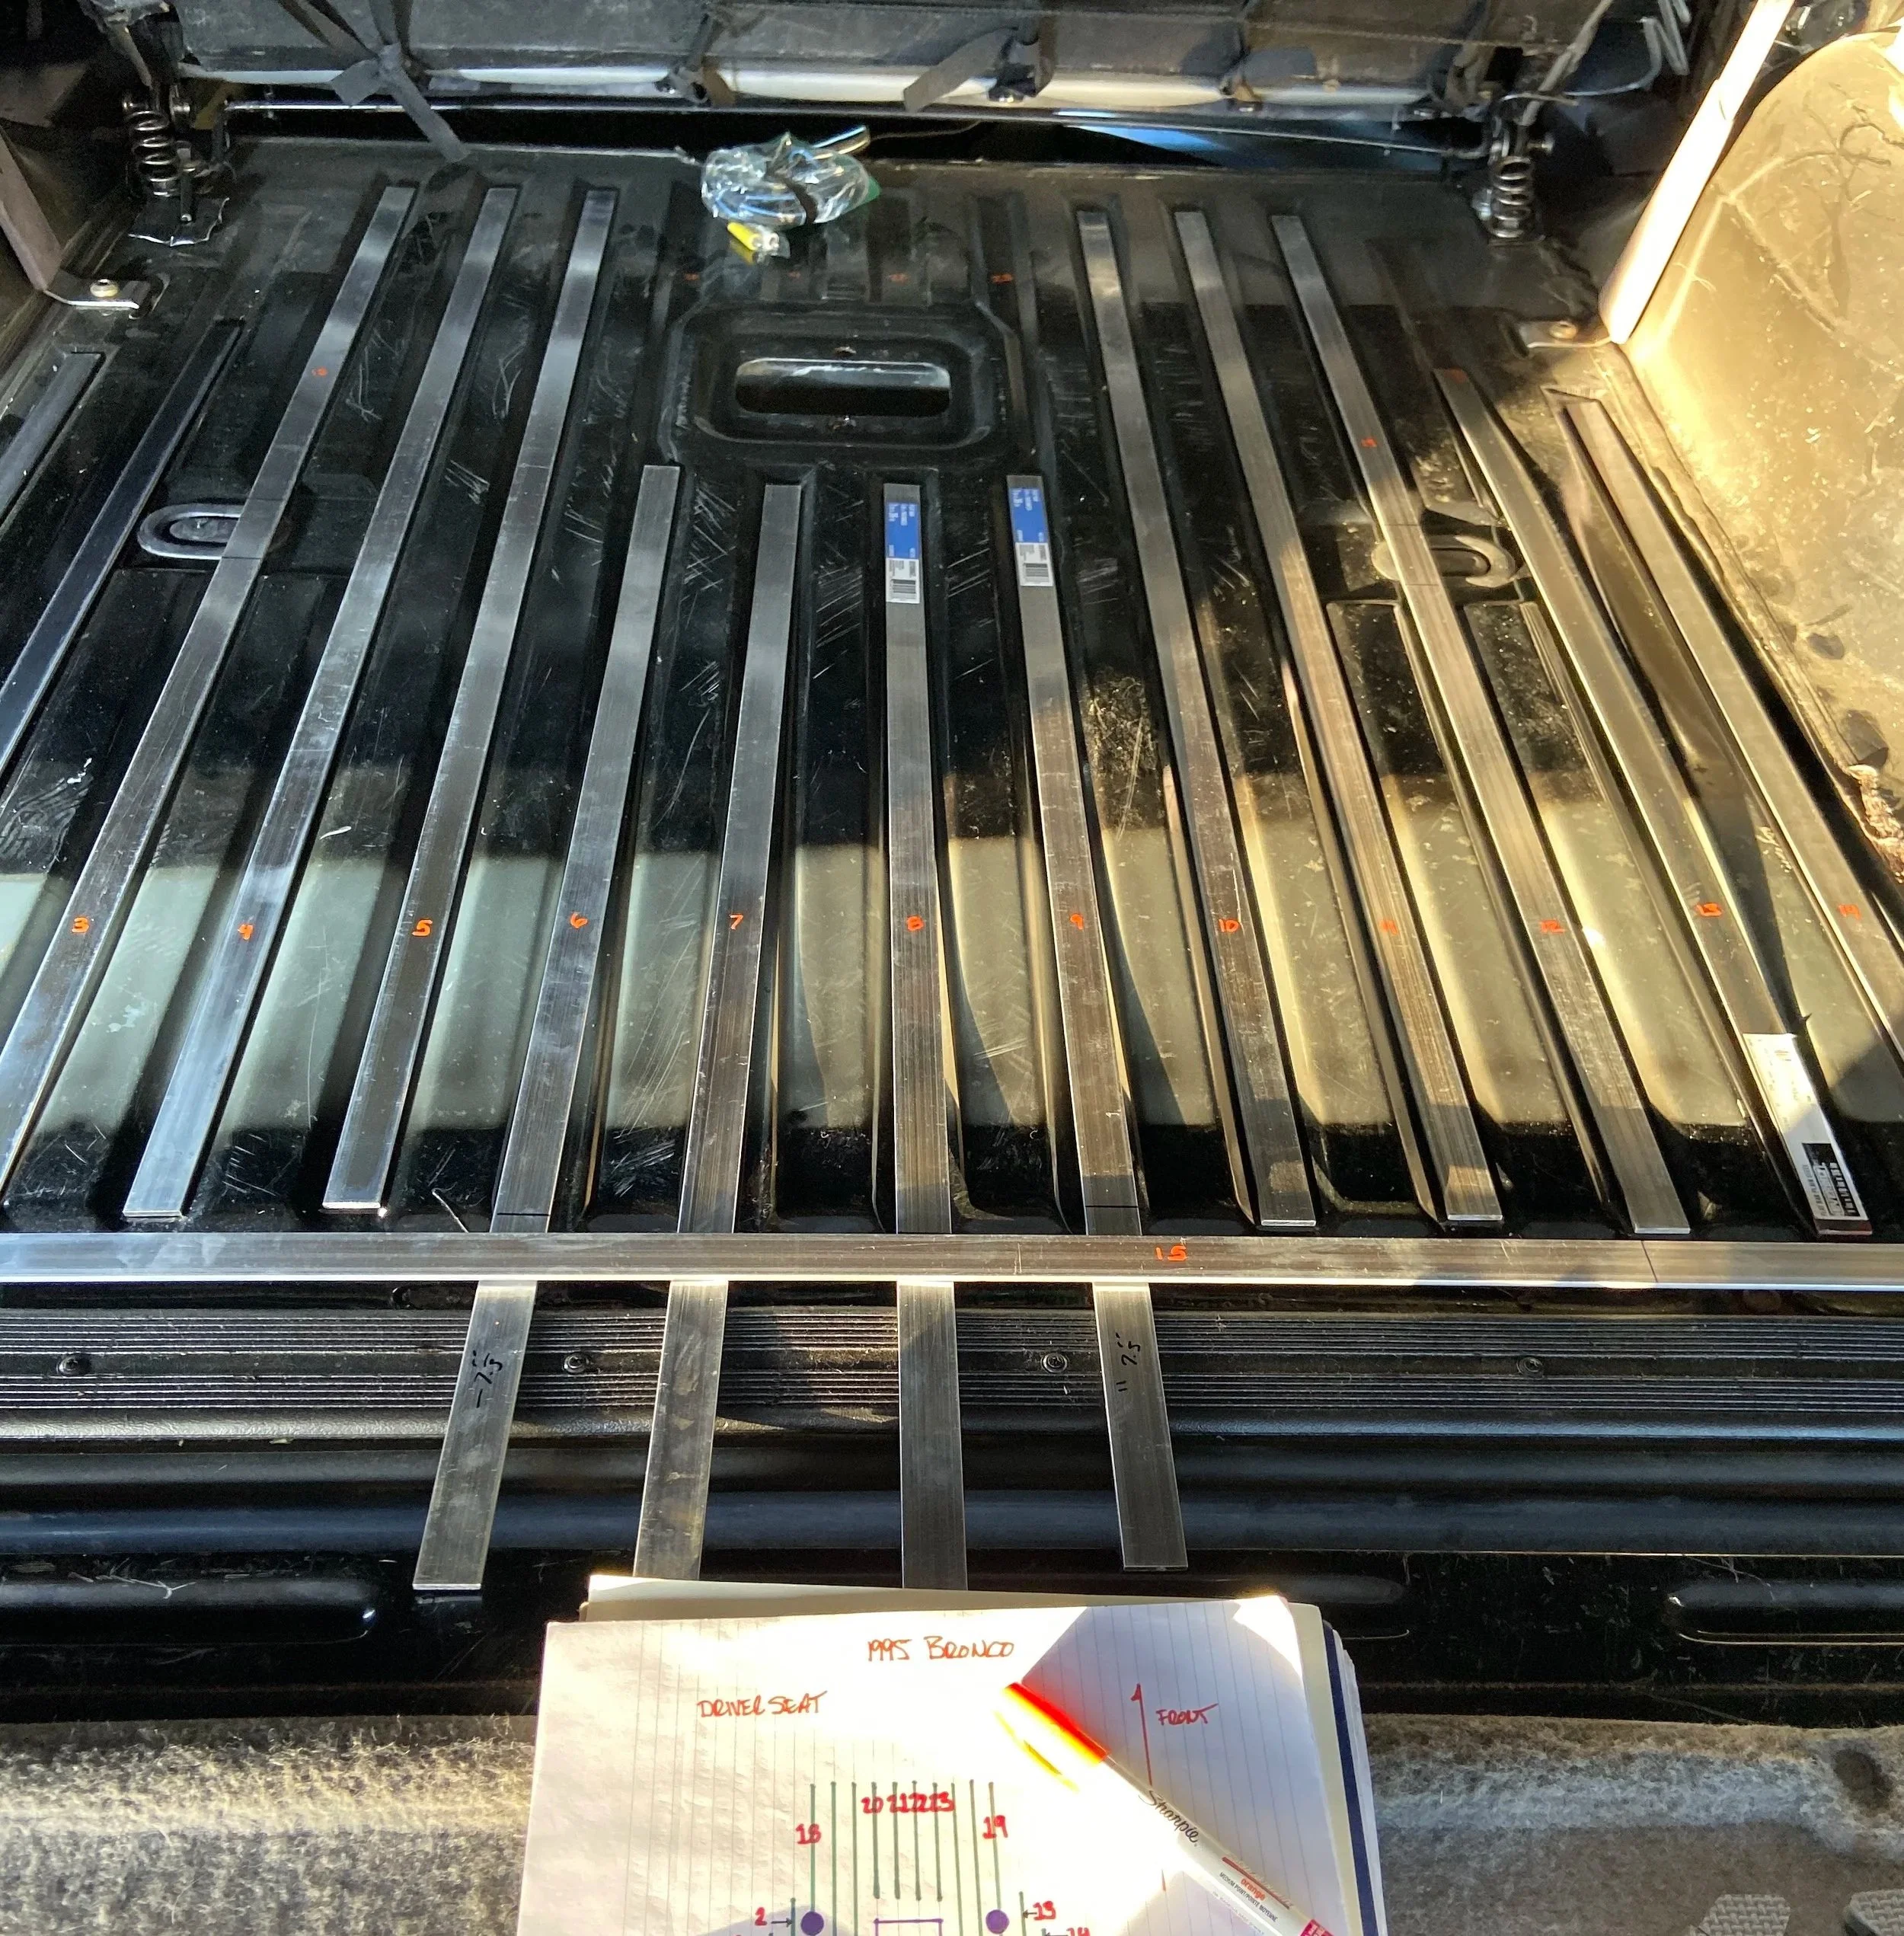
Aluminum or steel strips before Dynamat being applied to the rear floor area. Several reasons for this.
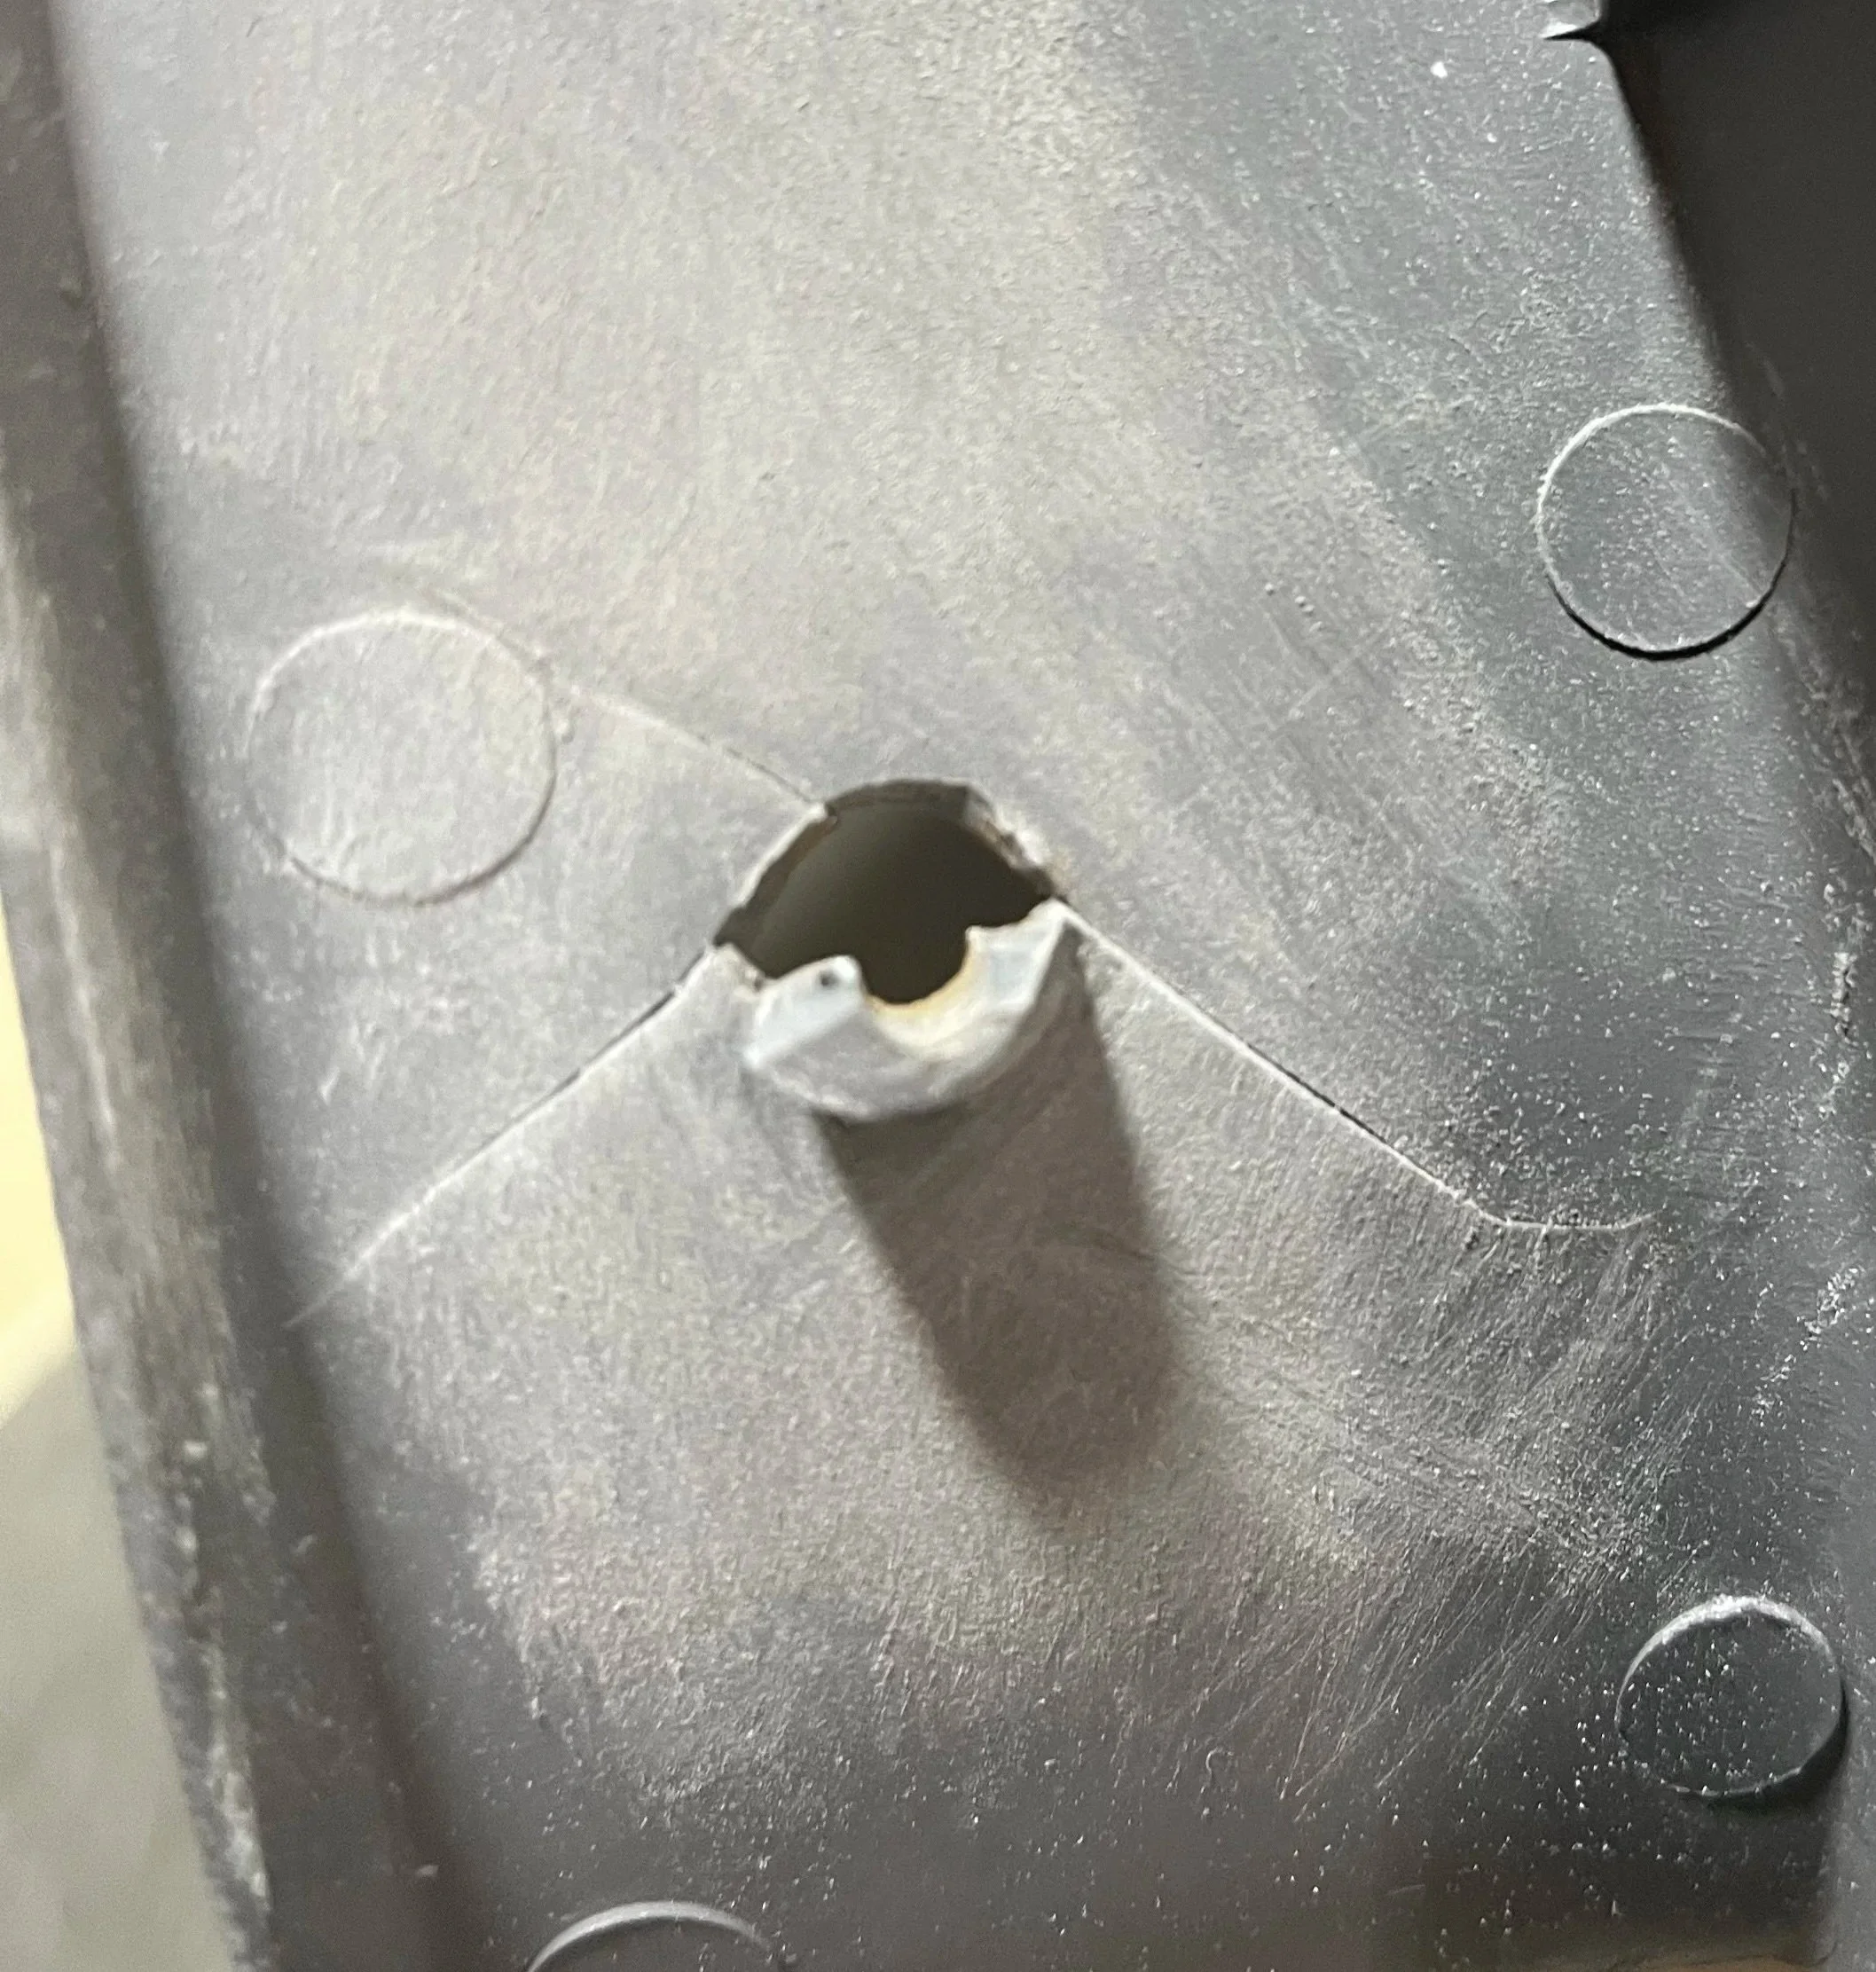
Inside view of damaged trim. The original wedge shaped screws seem to excel at splitting old plastic trim. I replace with washer style “Ford Correct” screws when reassembled.
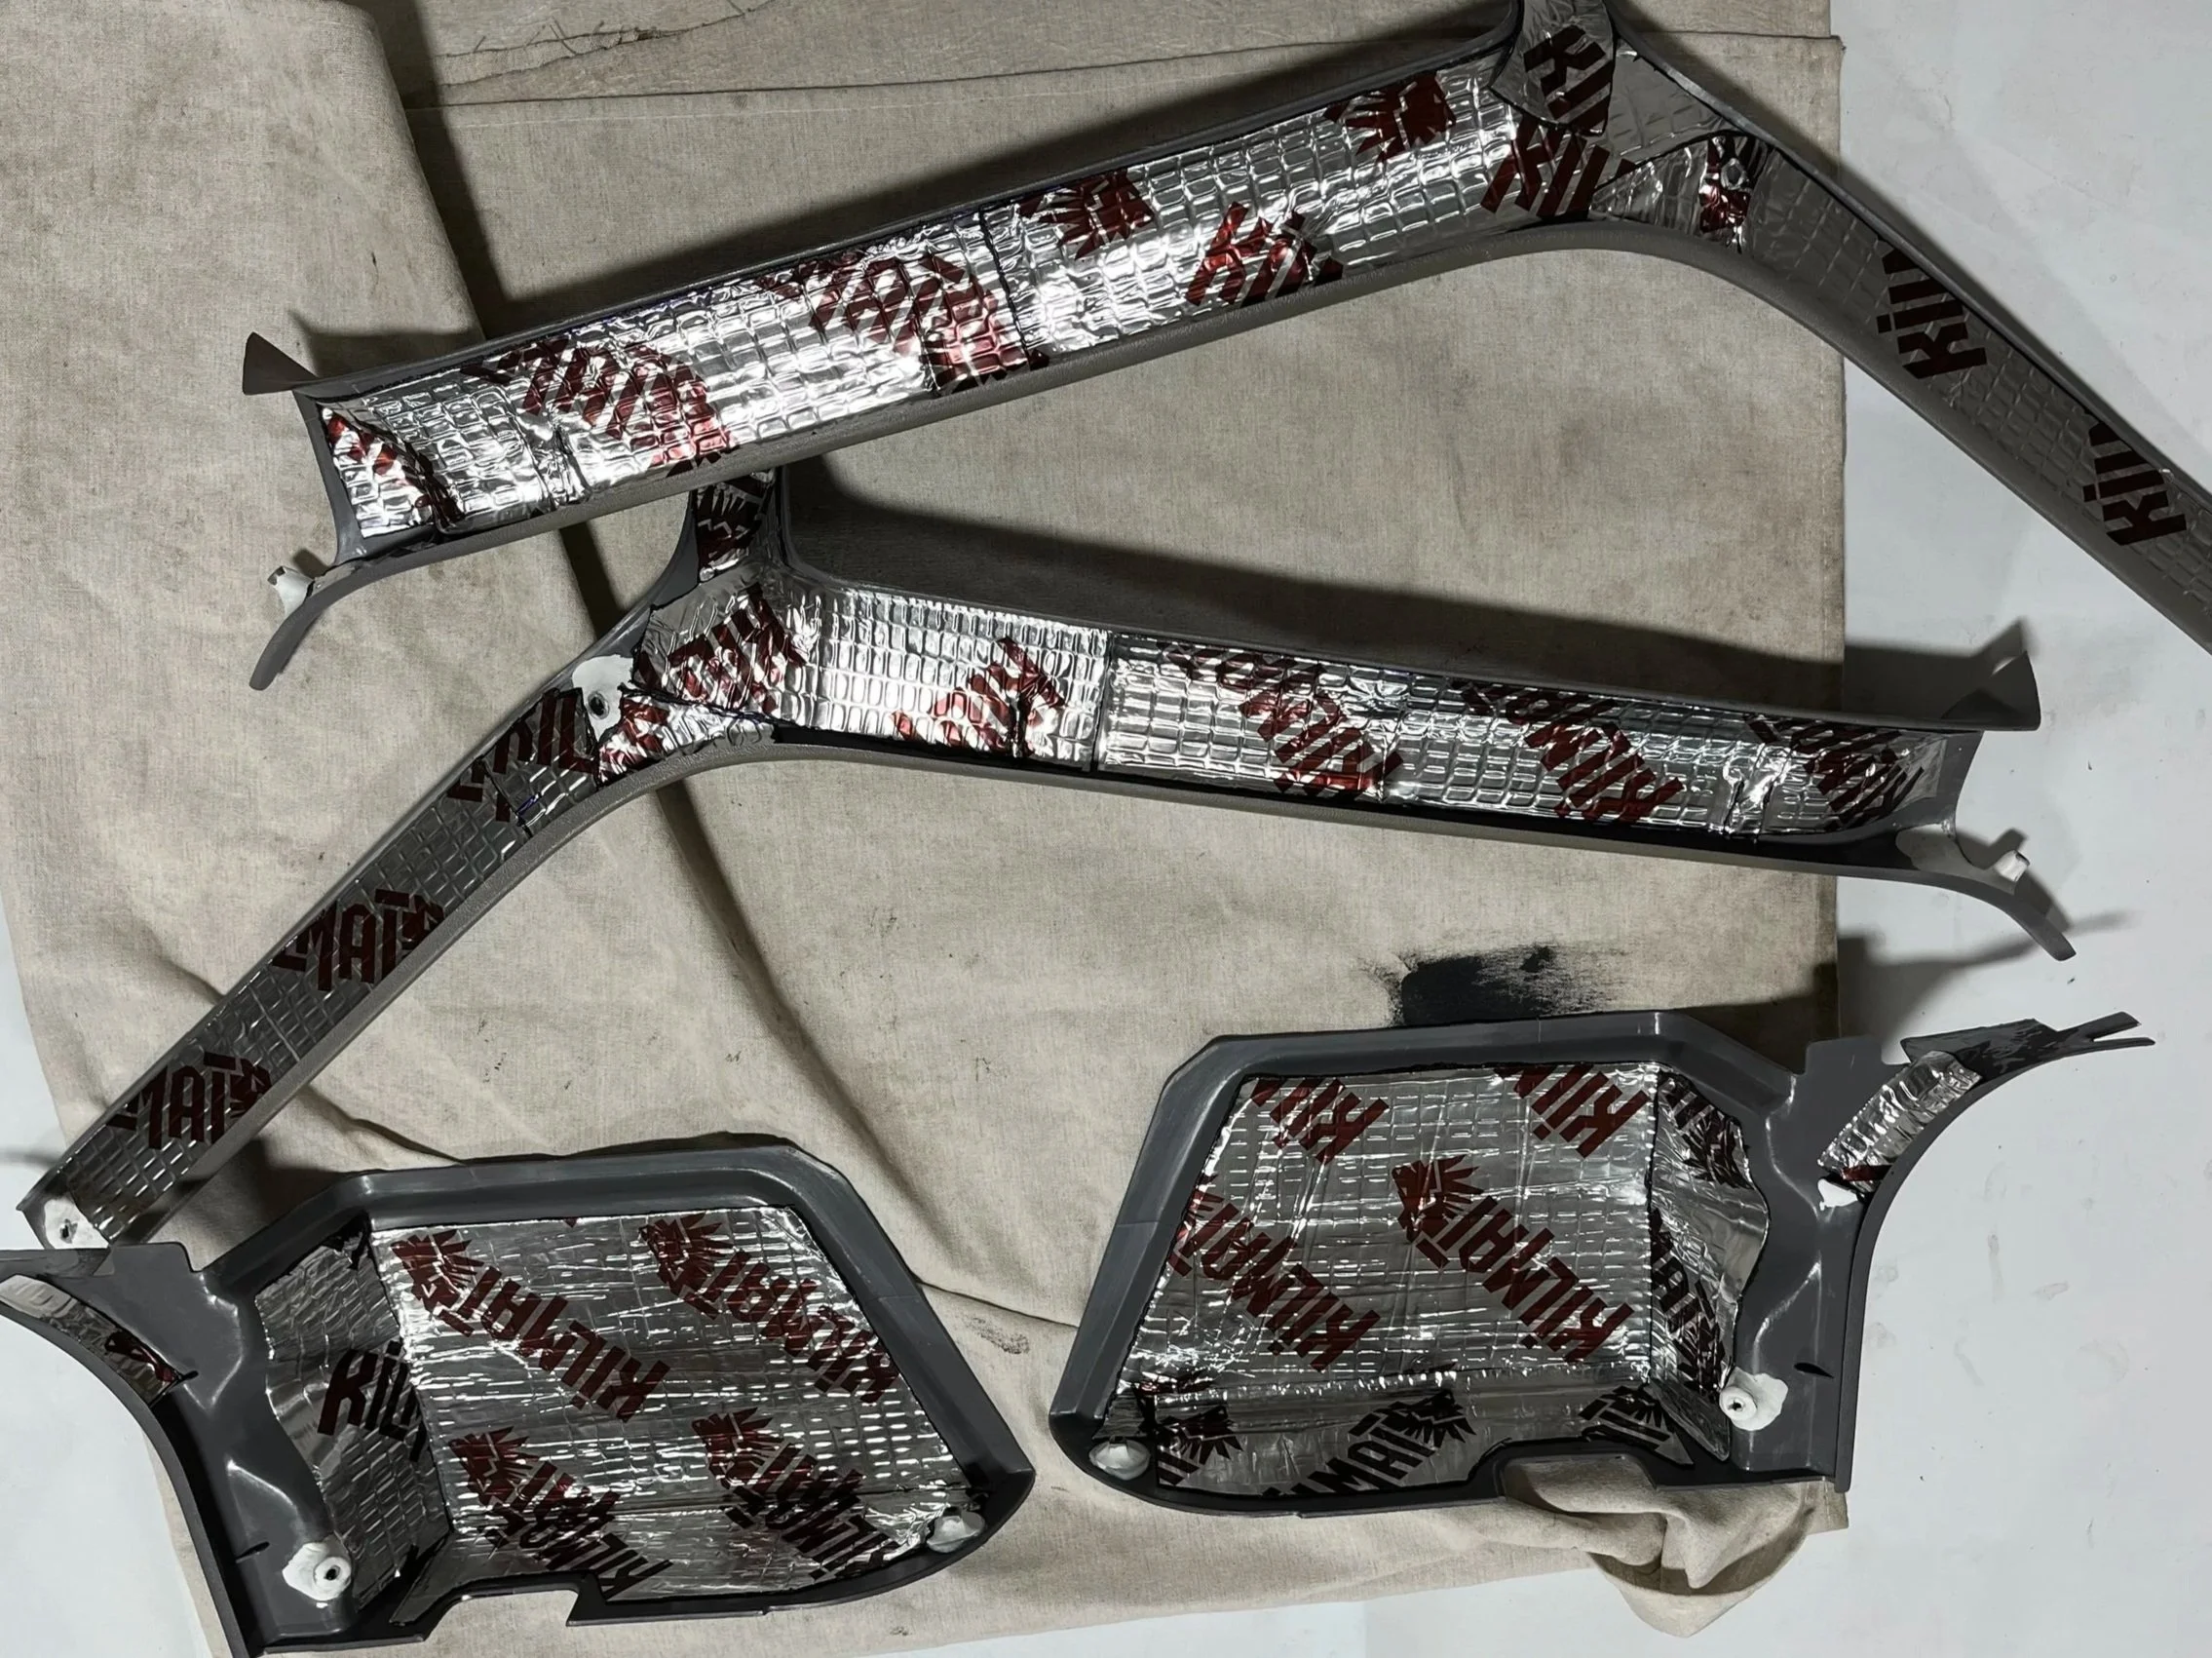
Trim pieces complete except for paint.
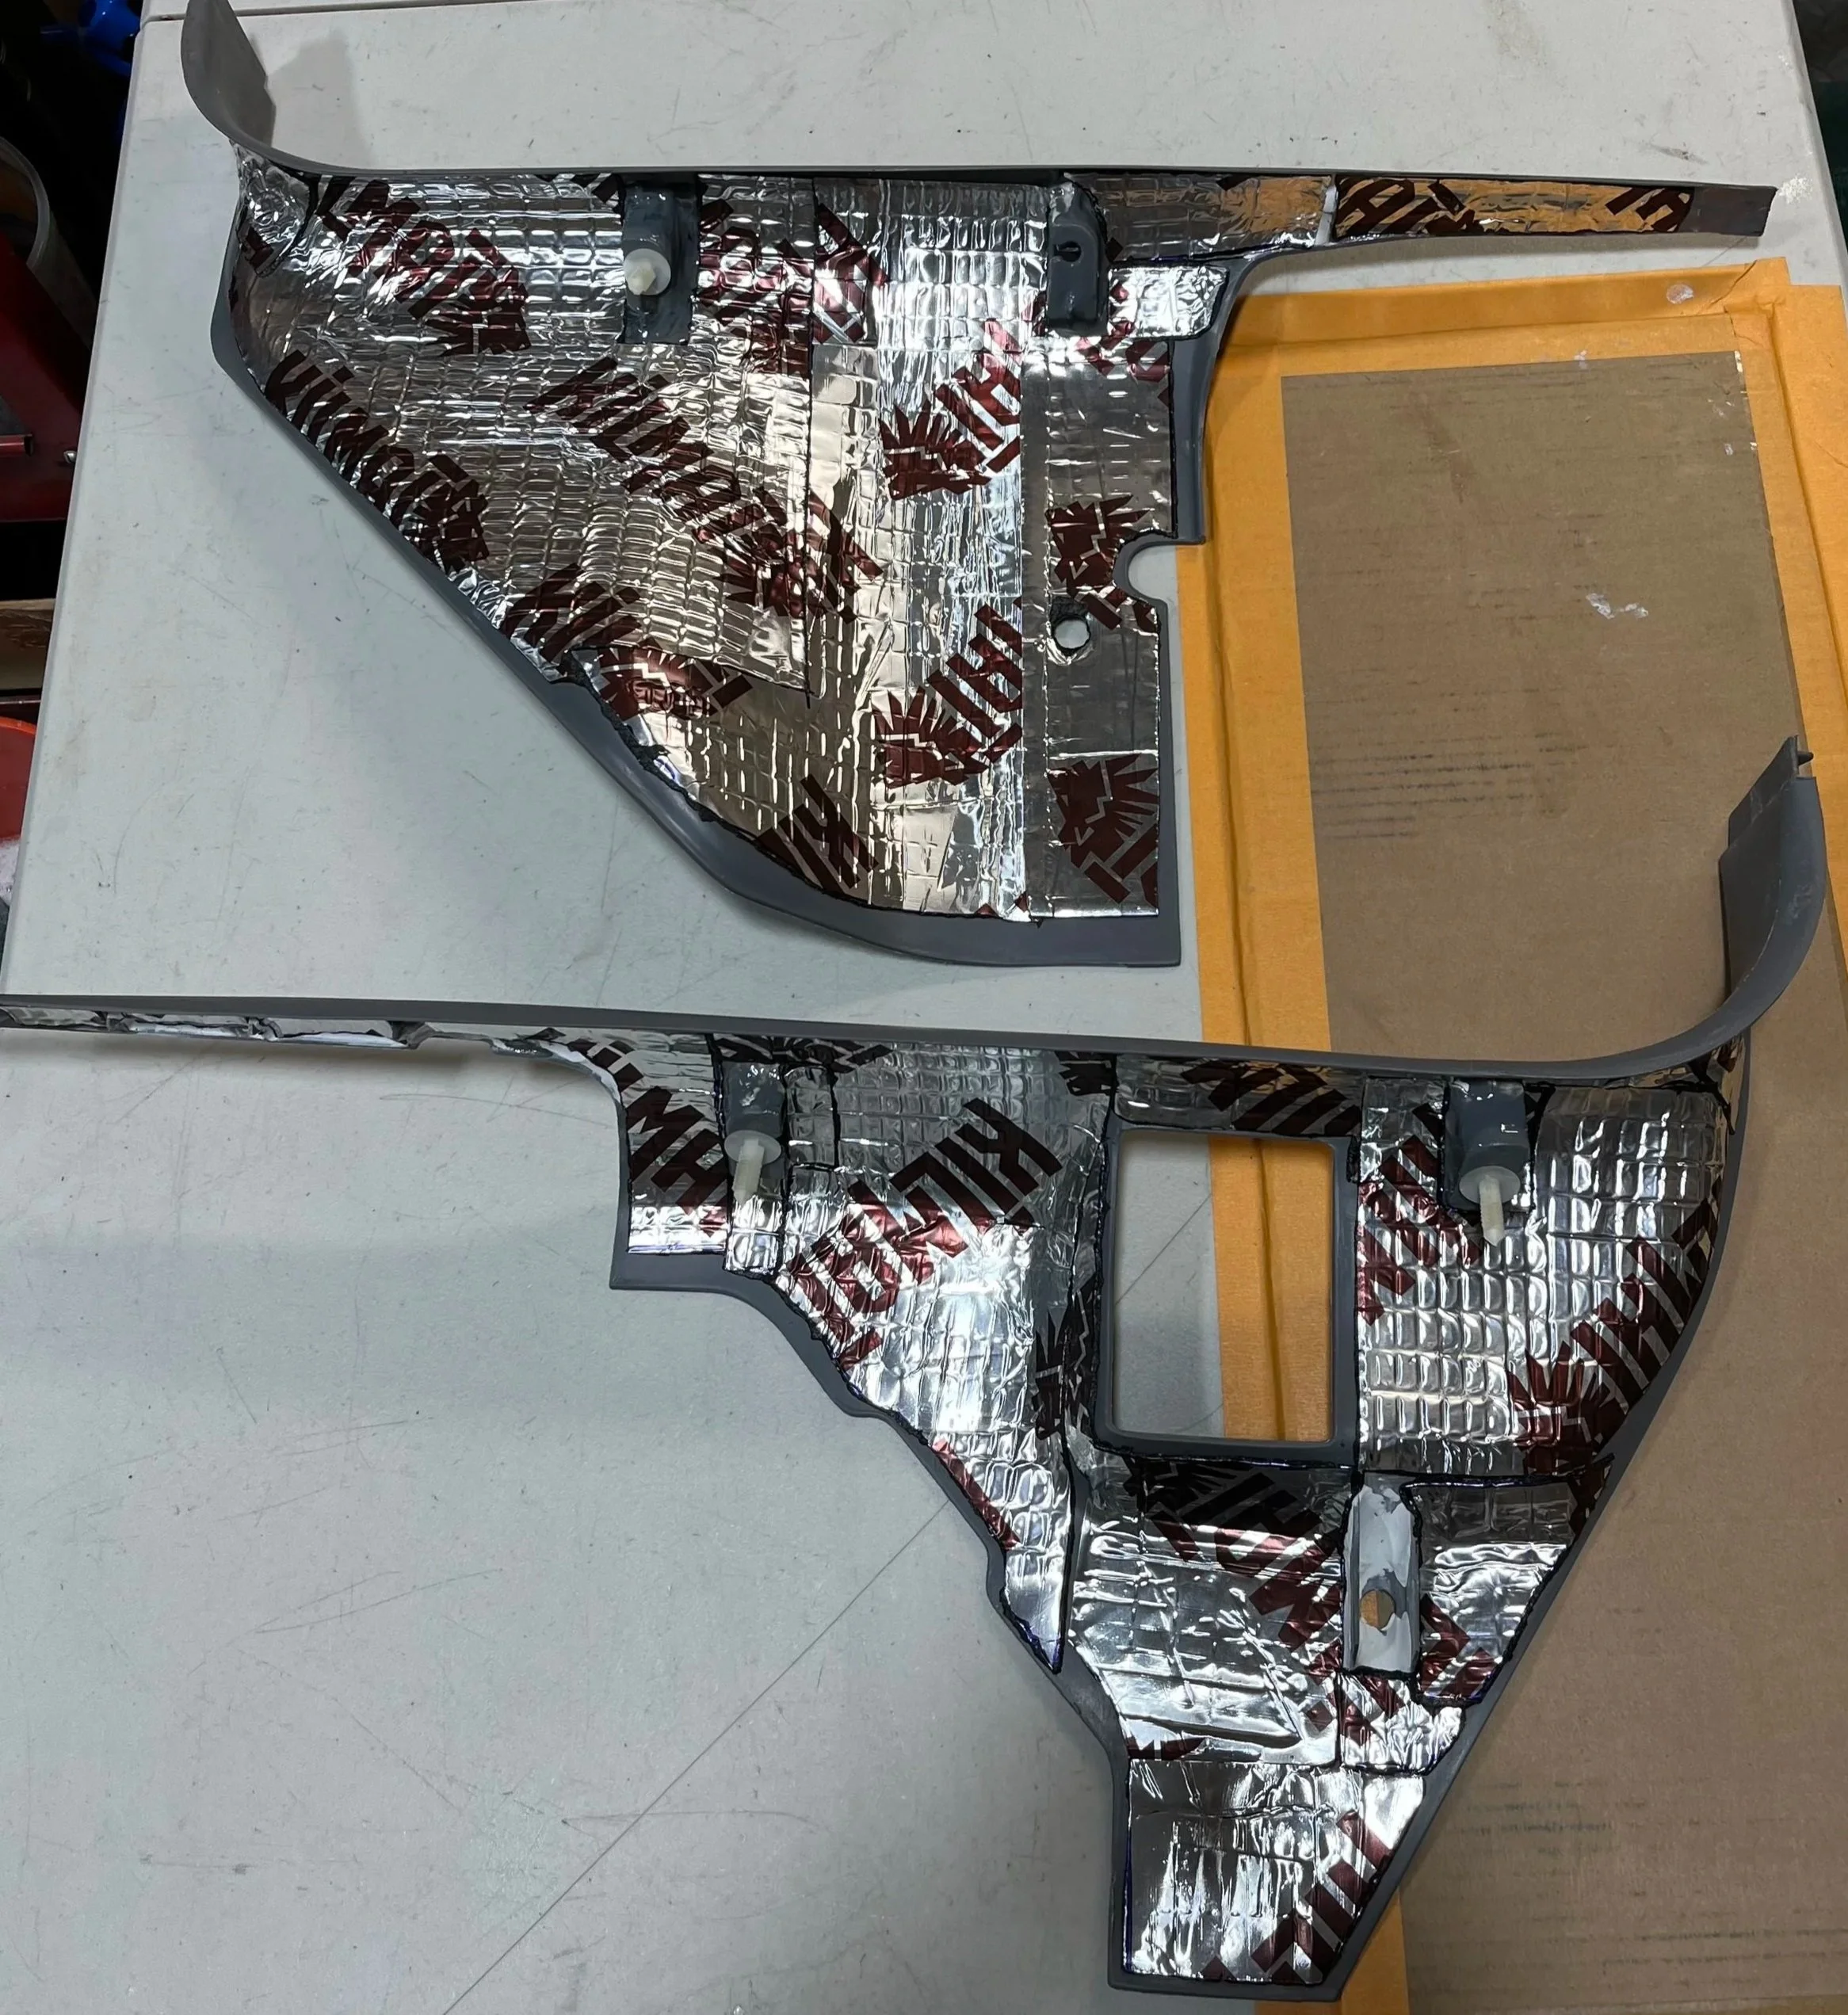
Completed front kick panels. The “patchwork” is because I use all scraps of Kilmat and Dynamat due to cost.
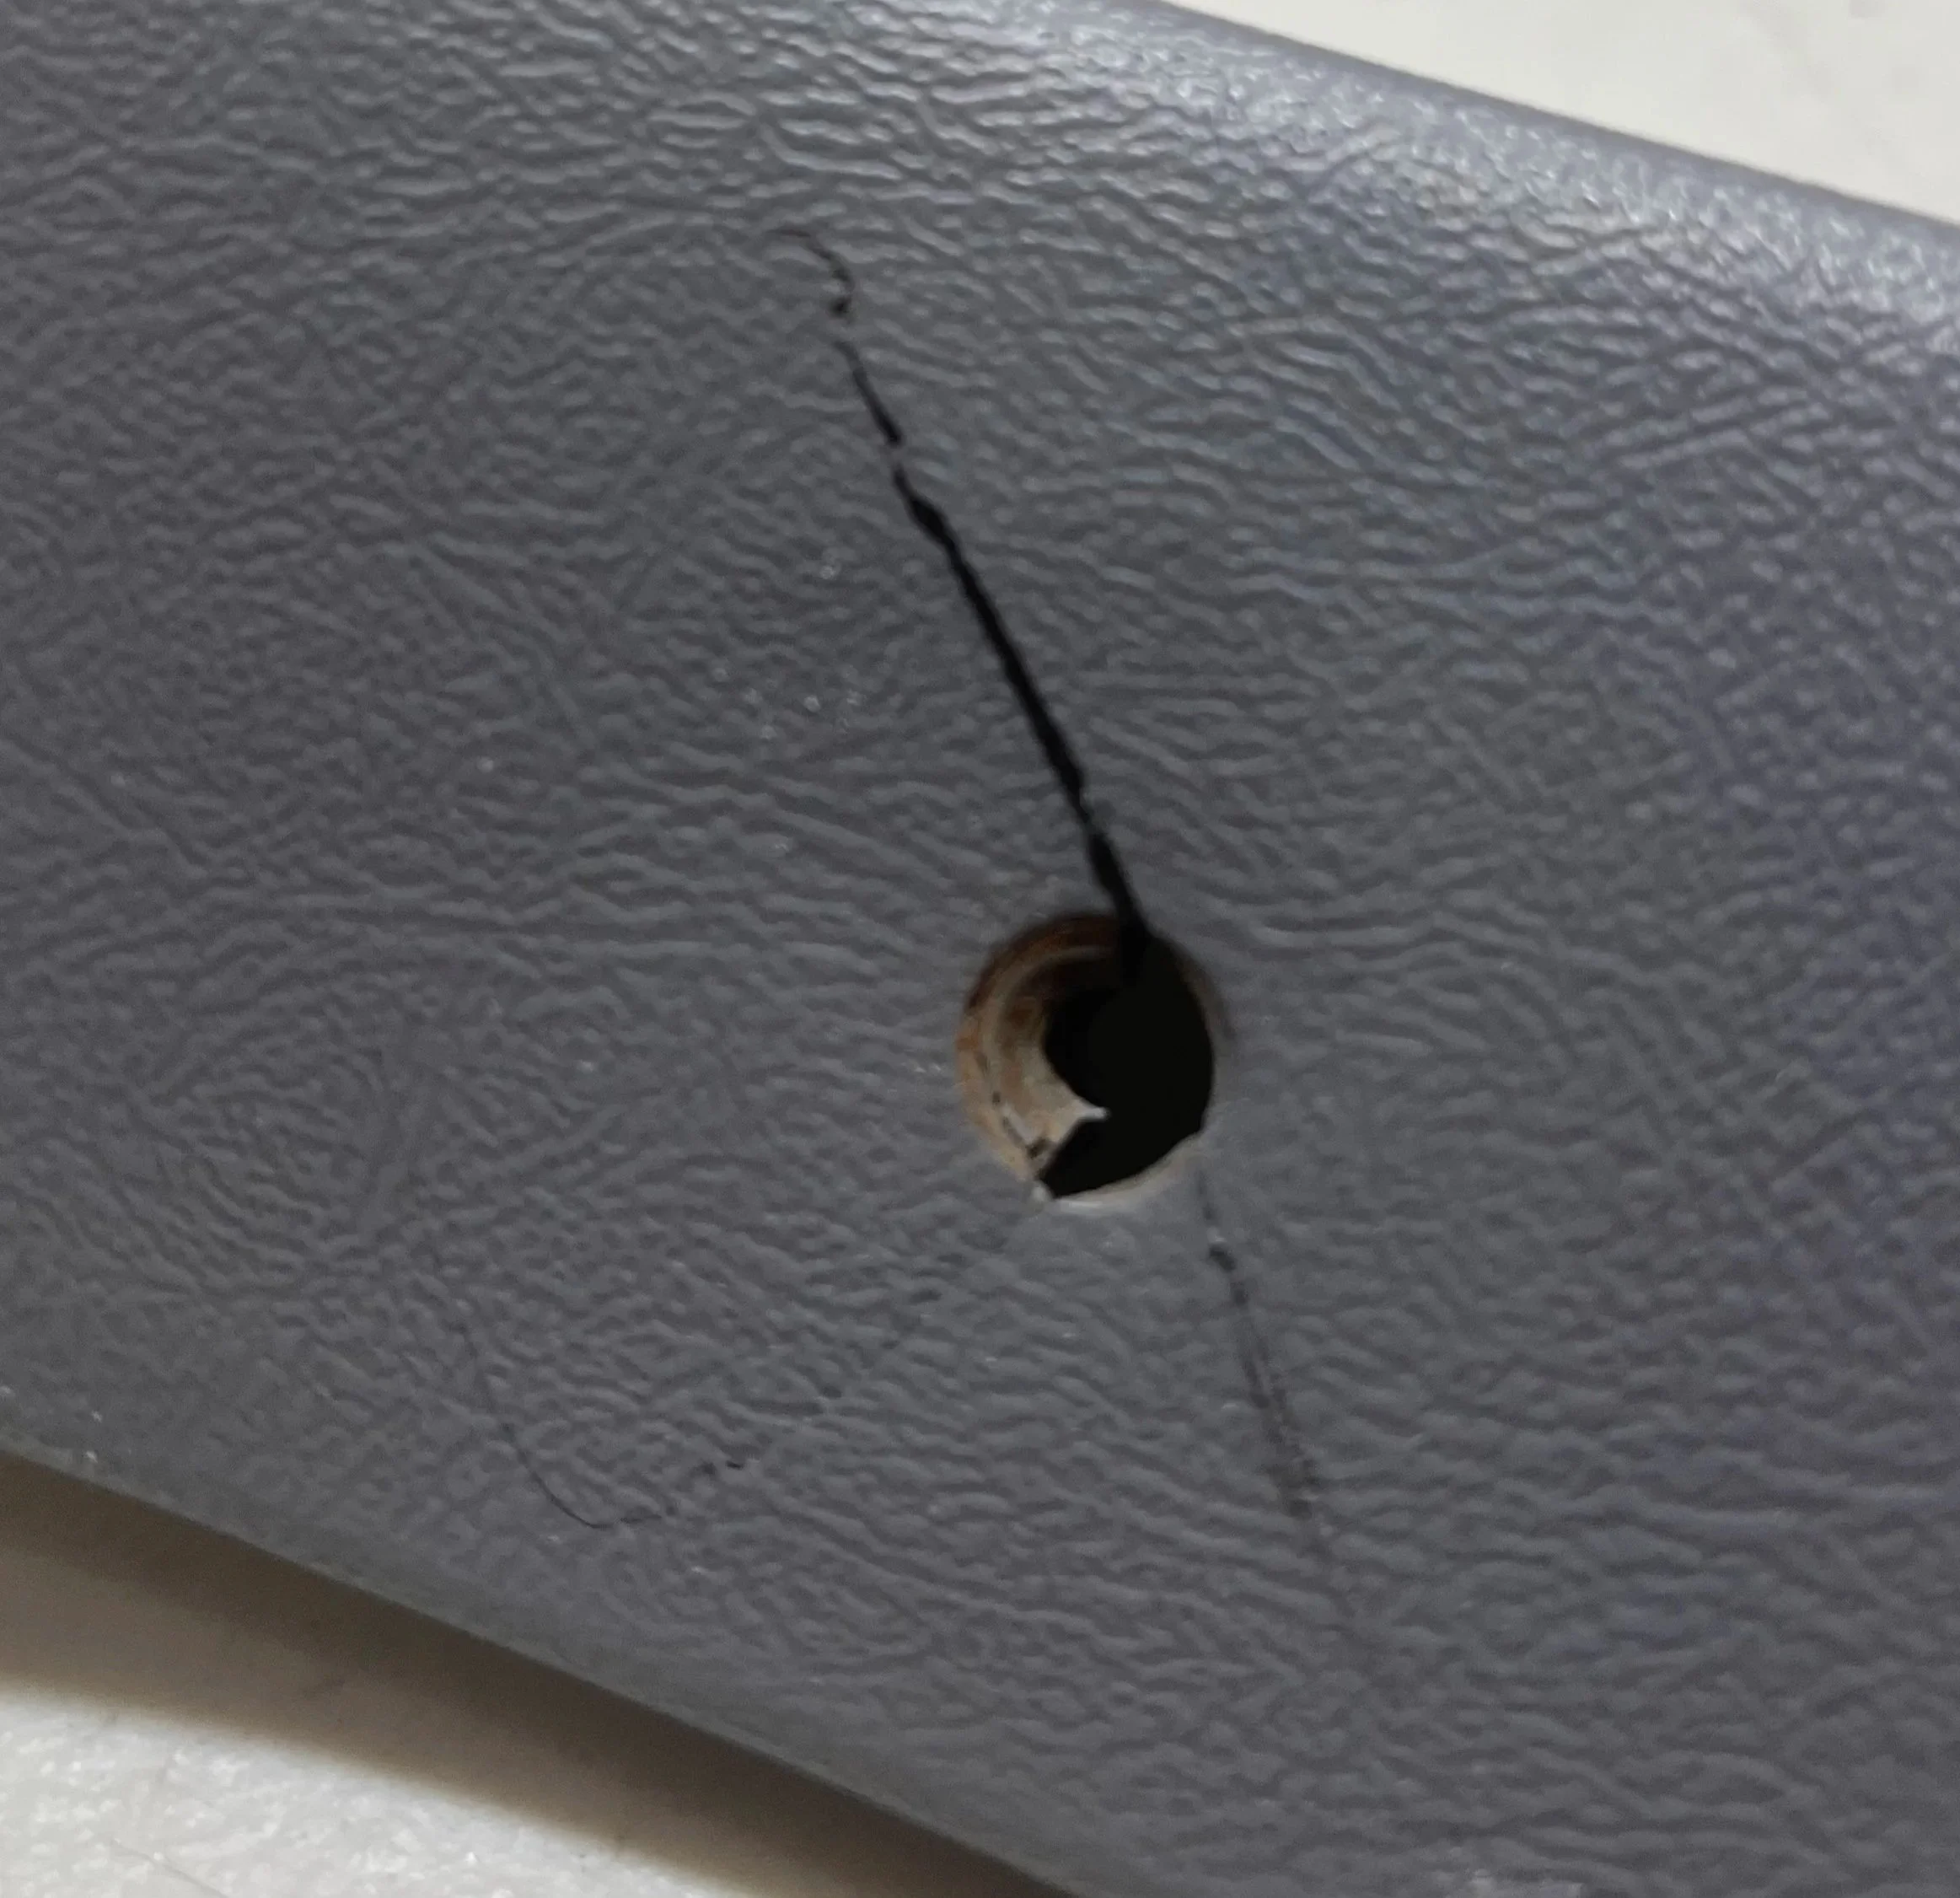
Original (damaged) shell / cab, roof headliner trim piece. The physics of a “V” wedge shaped screw being pulled into old an old brittle plastic “saddle.” reminds me of splitting wood.
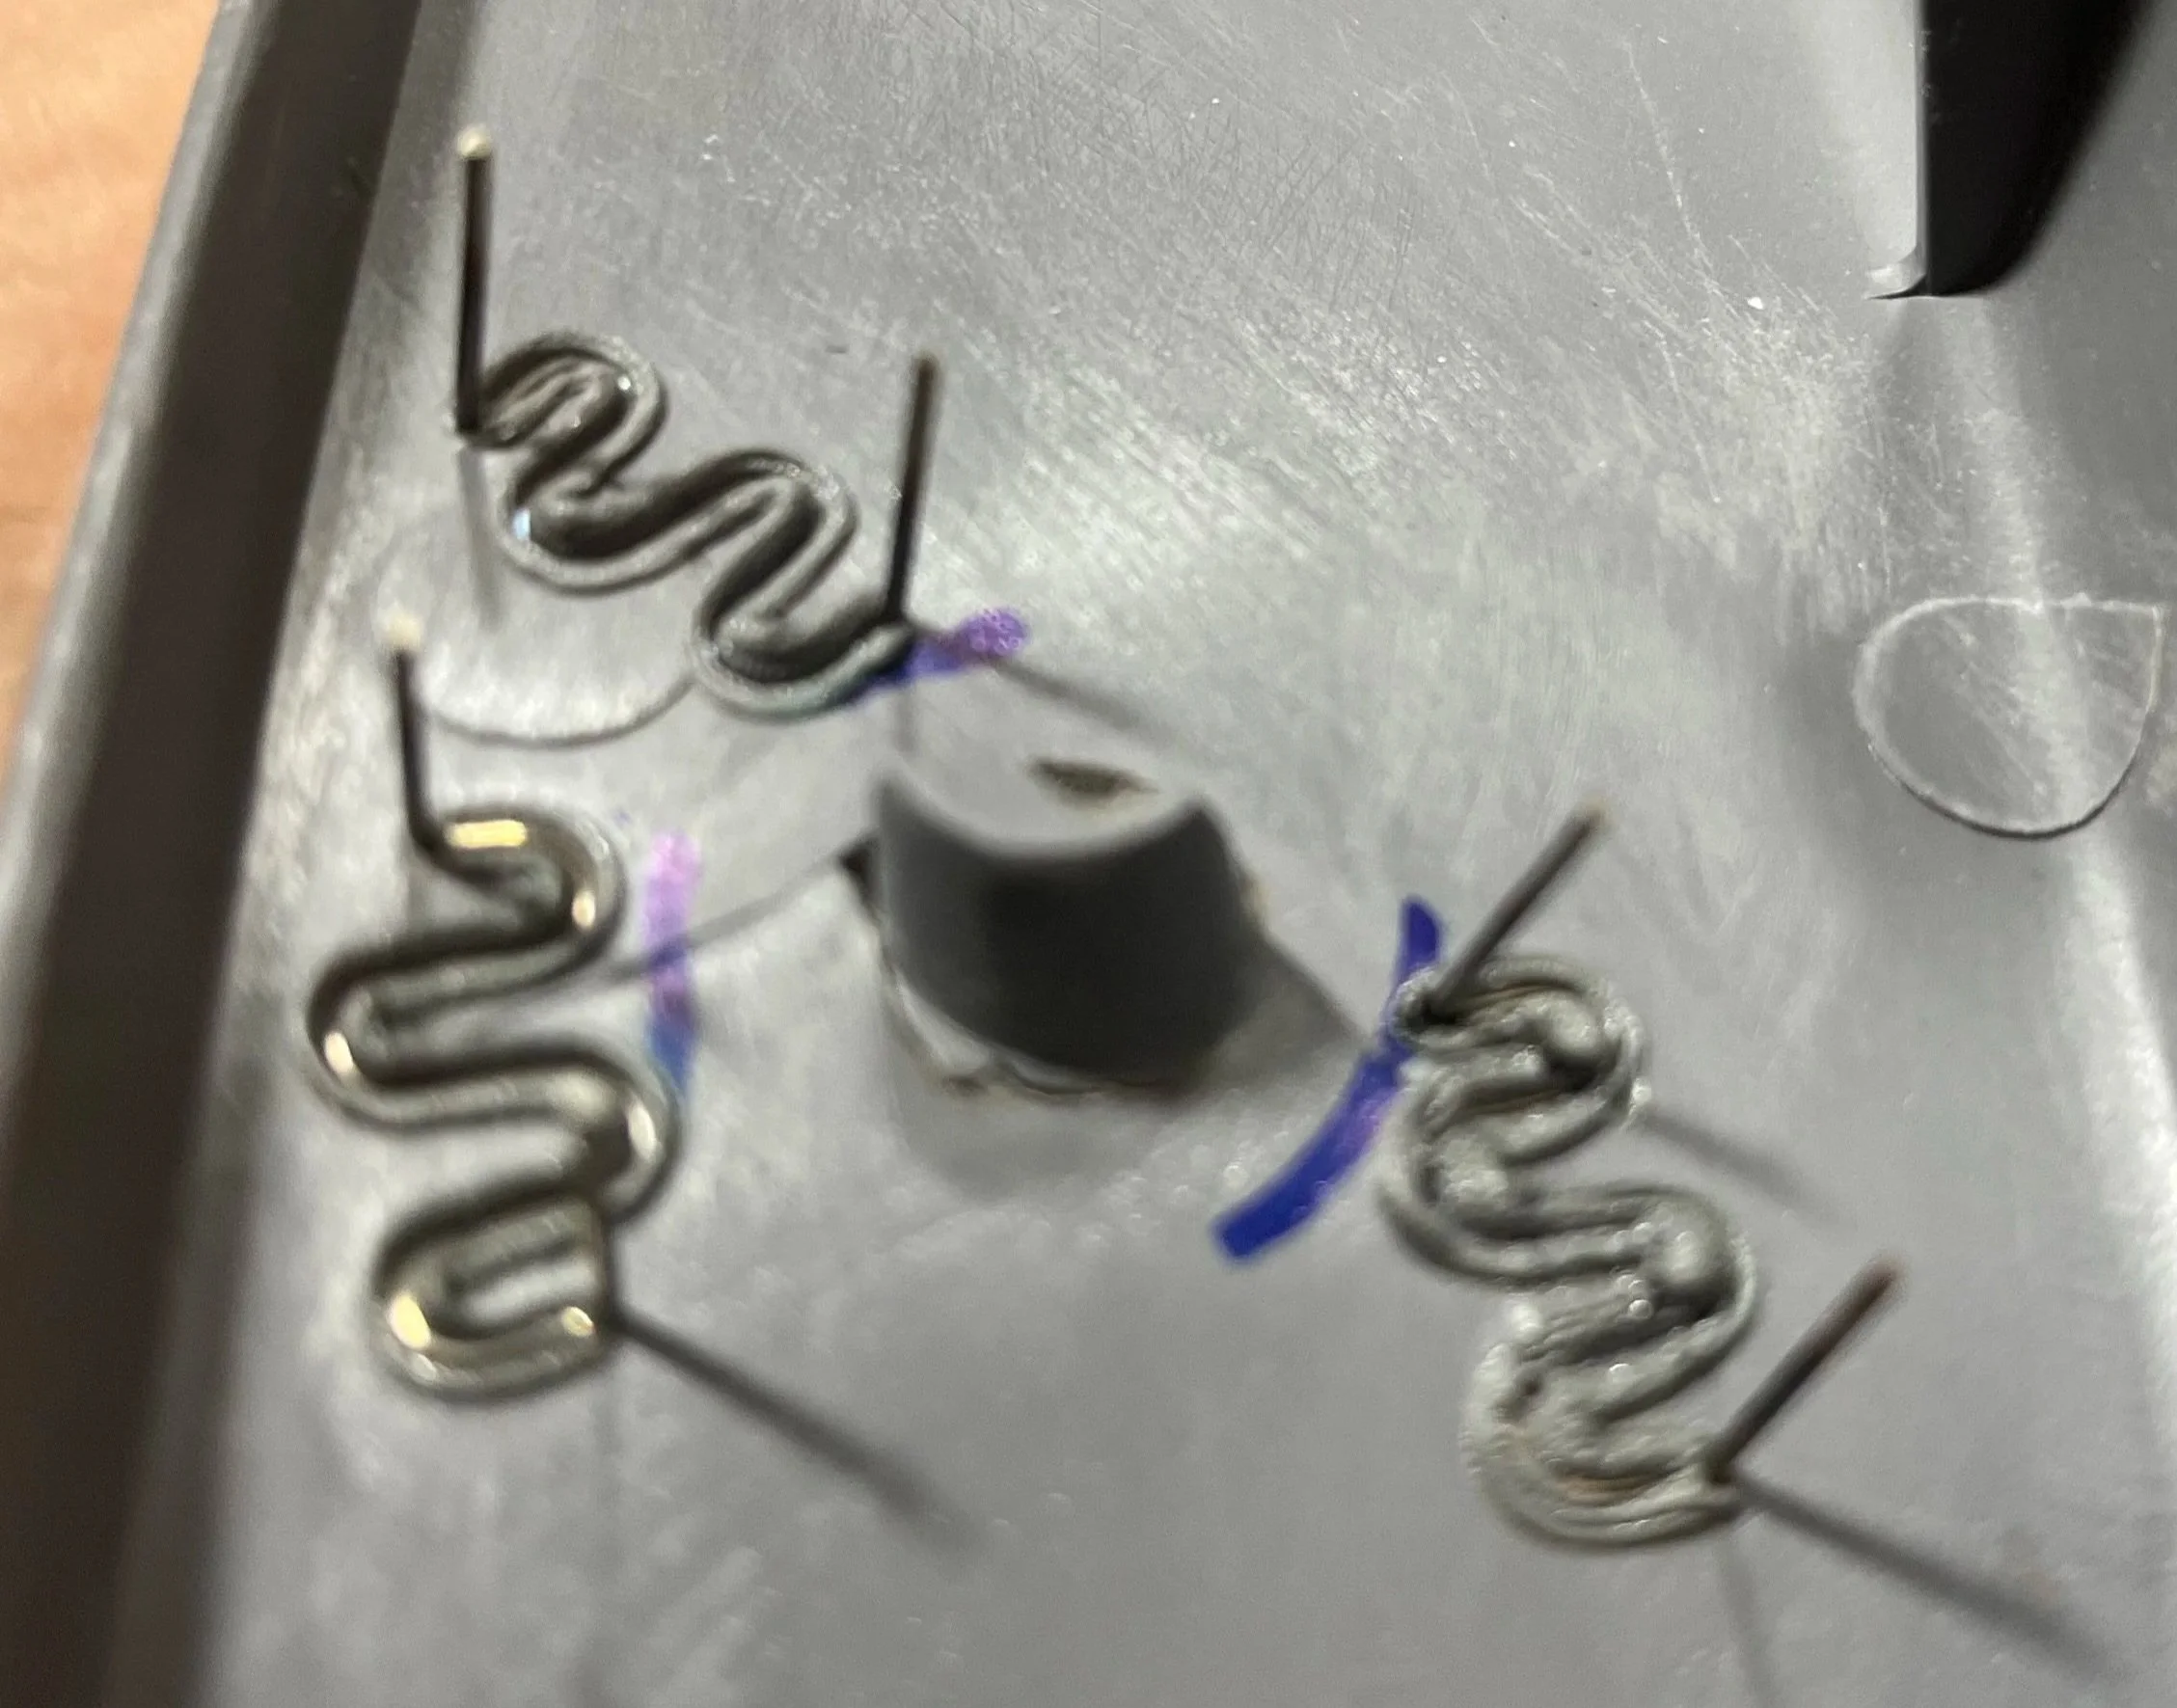
melted in staples prior to trimming and melting plastic over staples.
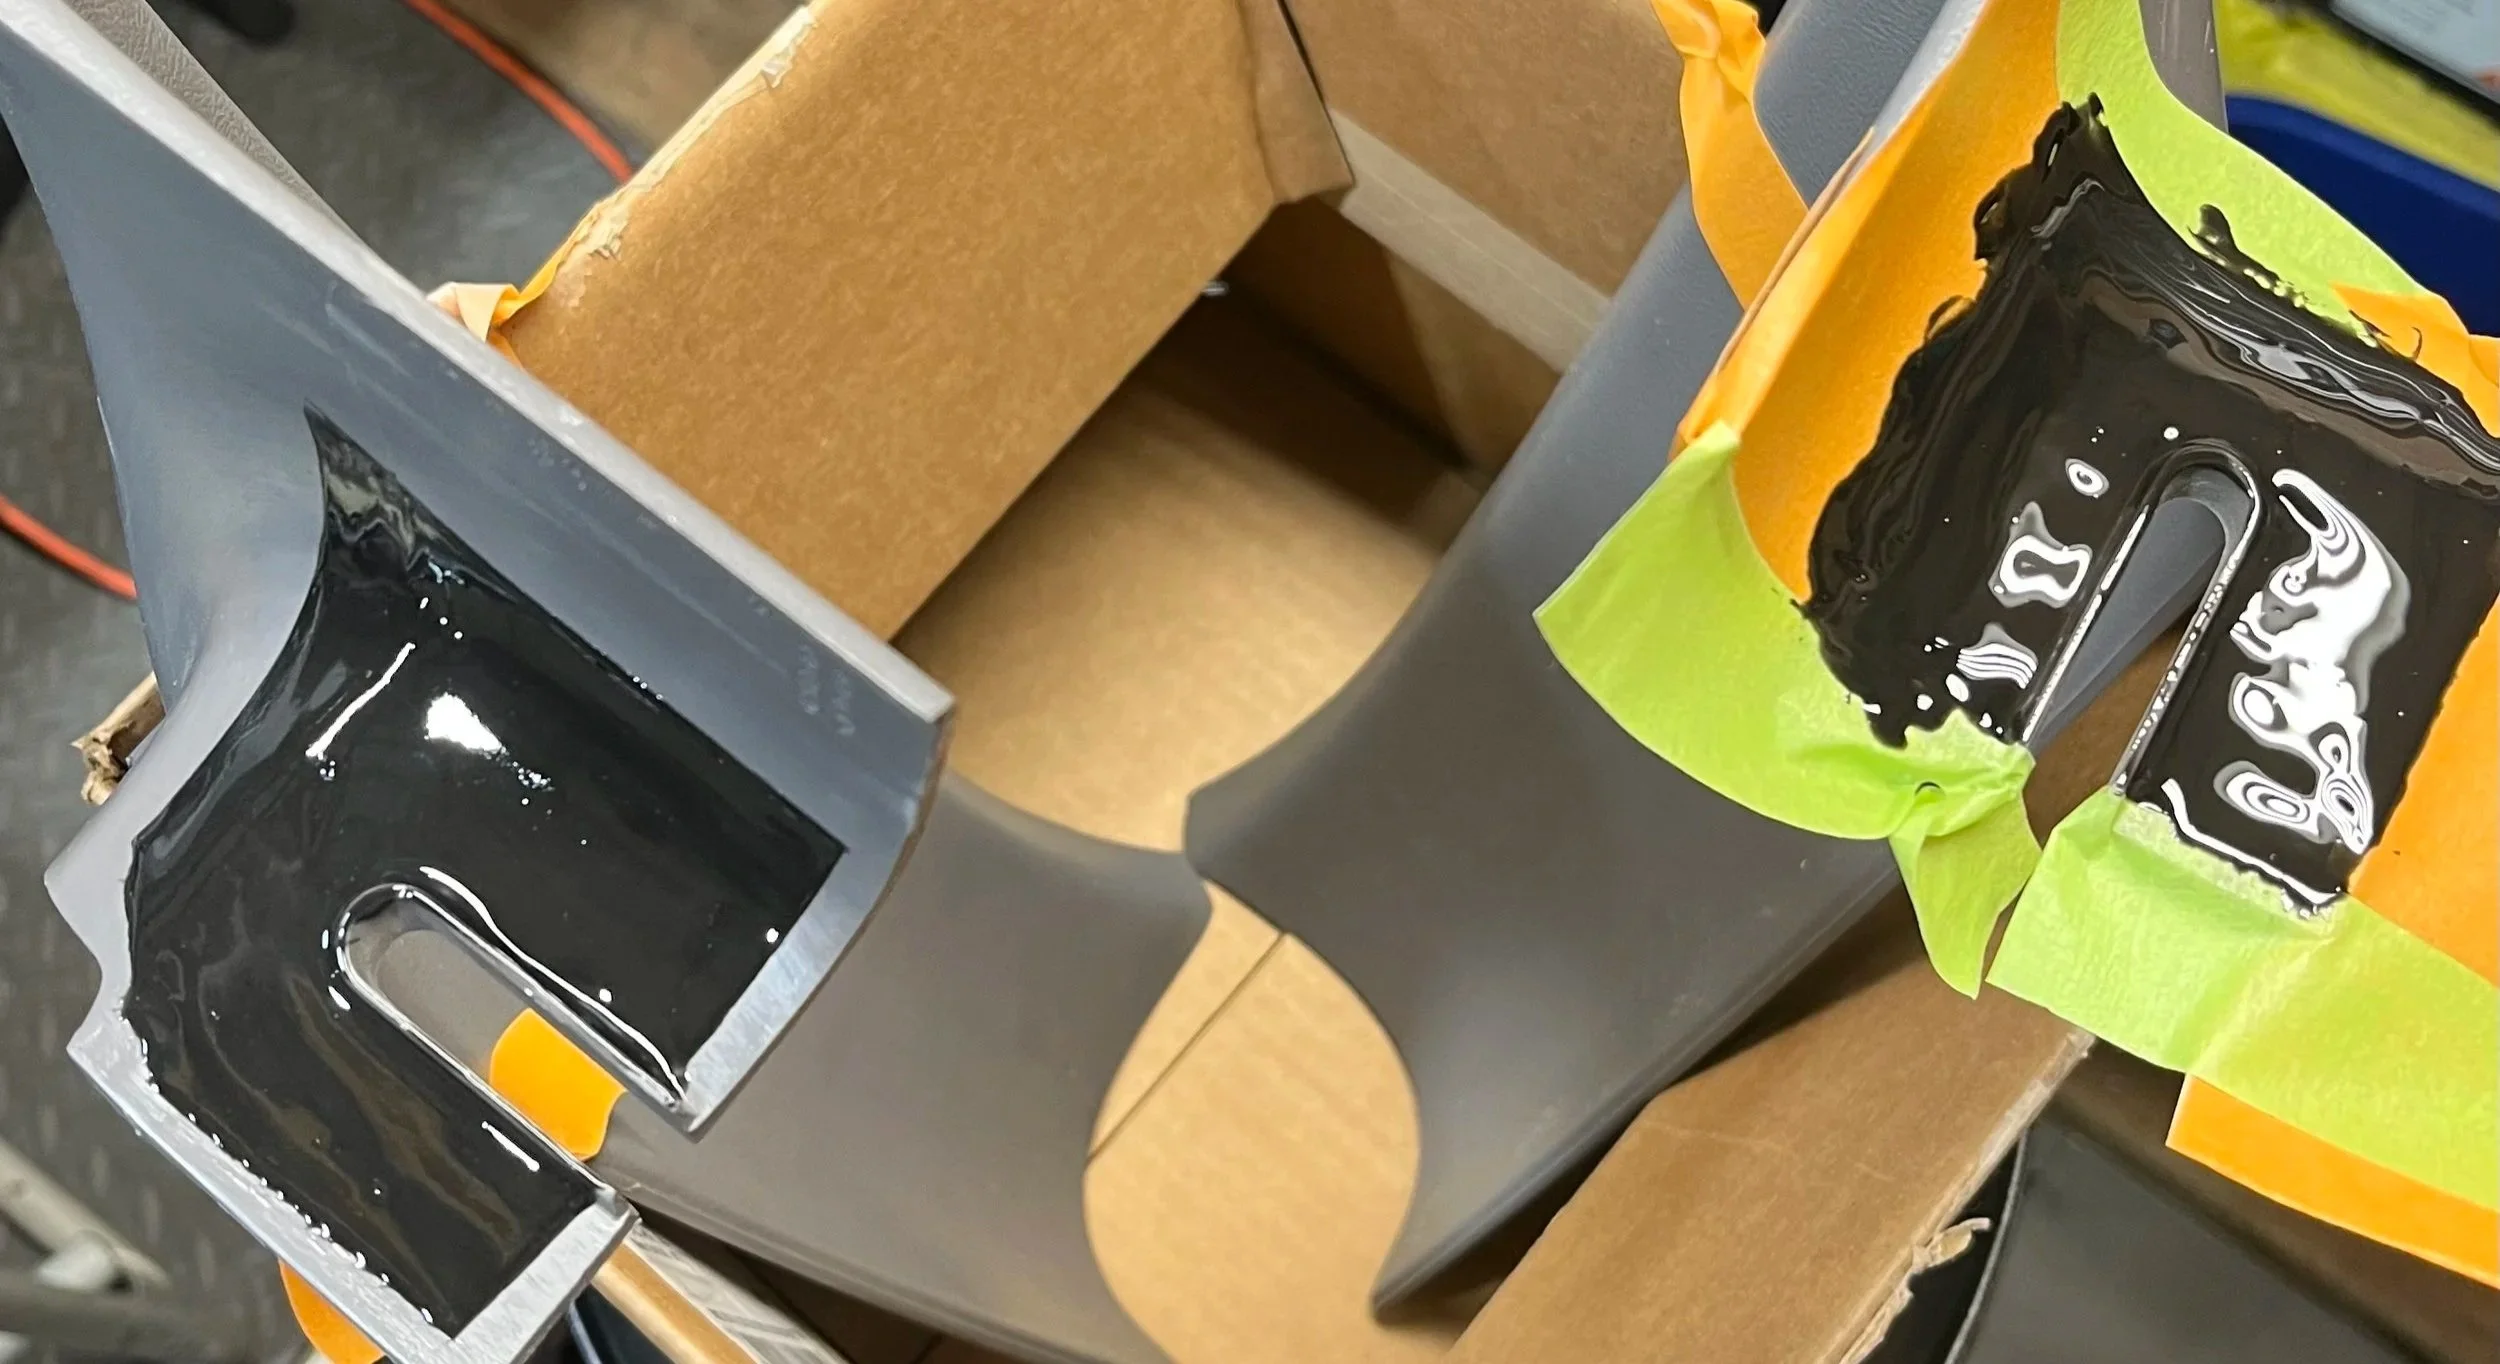
Flimsy ends coated in various epoxies to strengthen. Plastic prep is important.
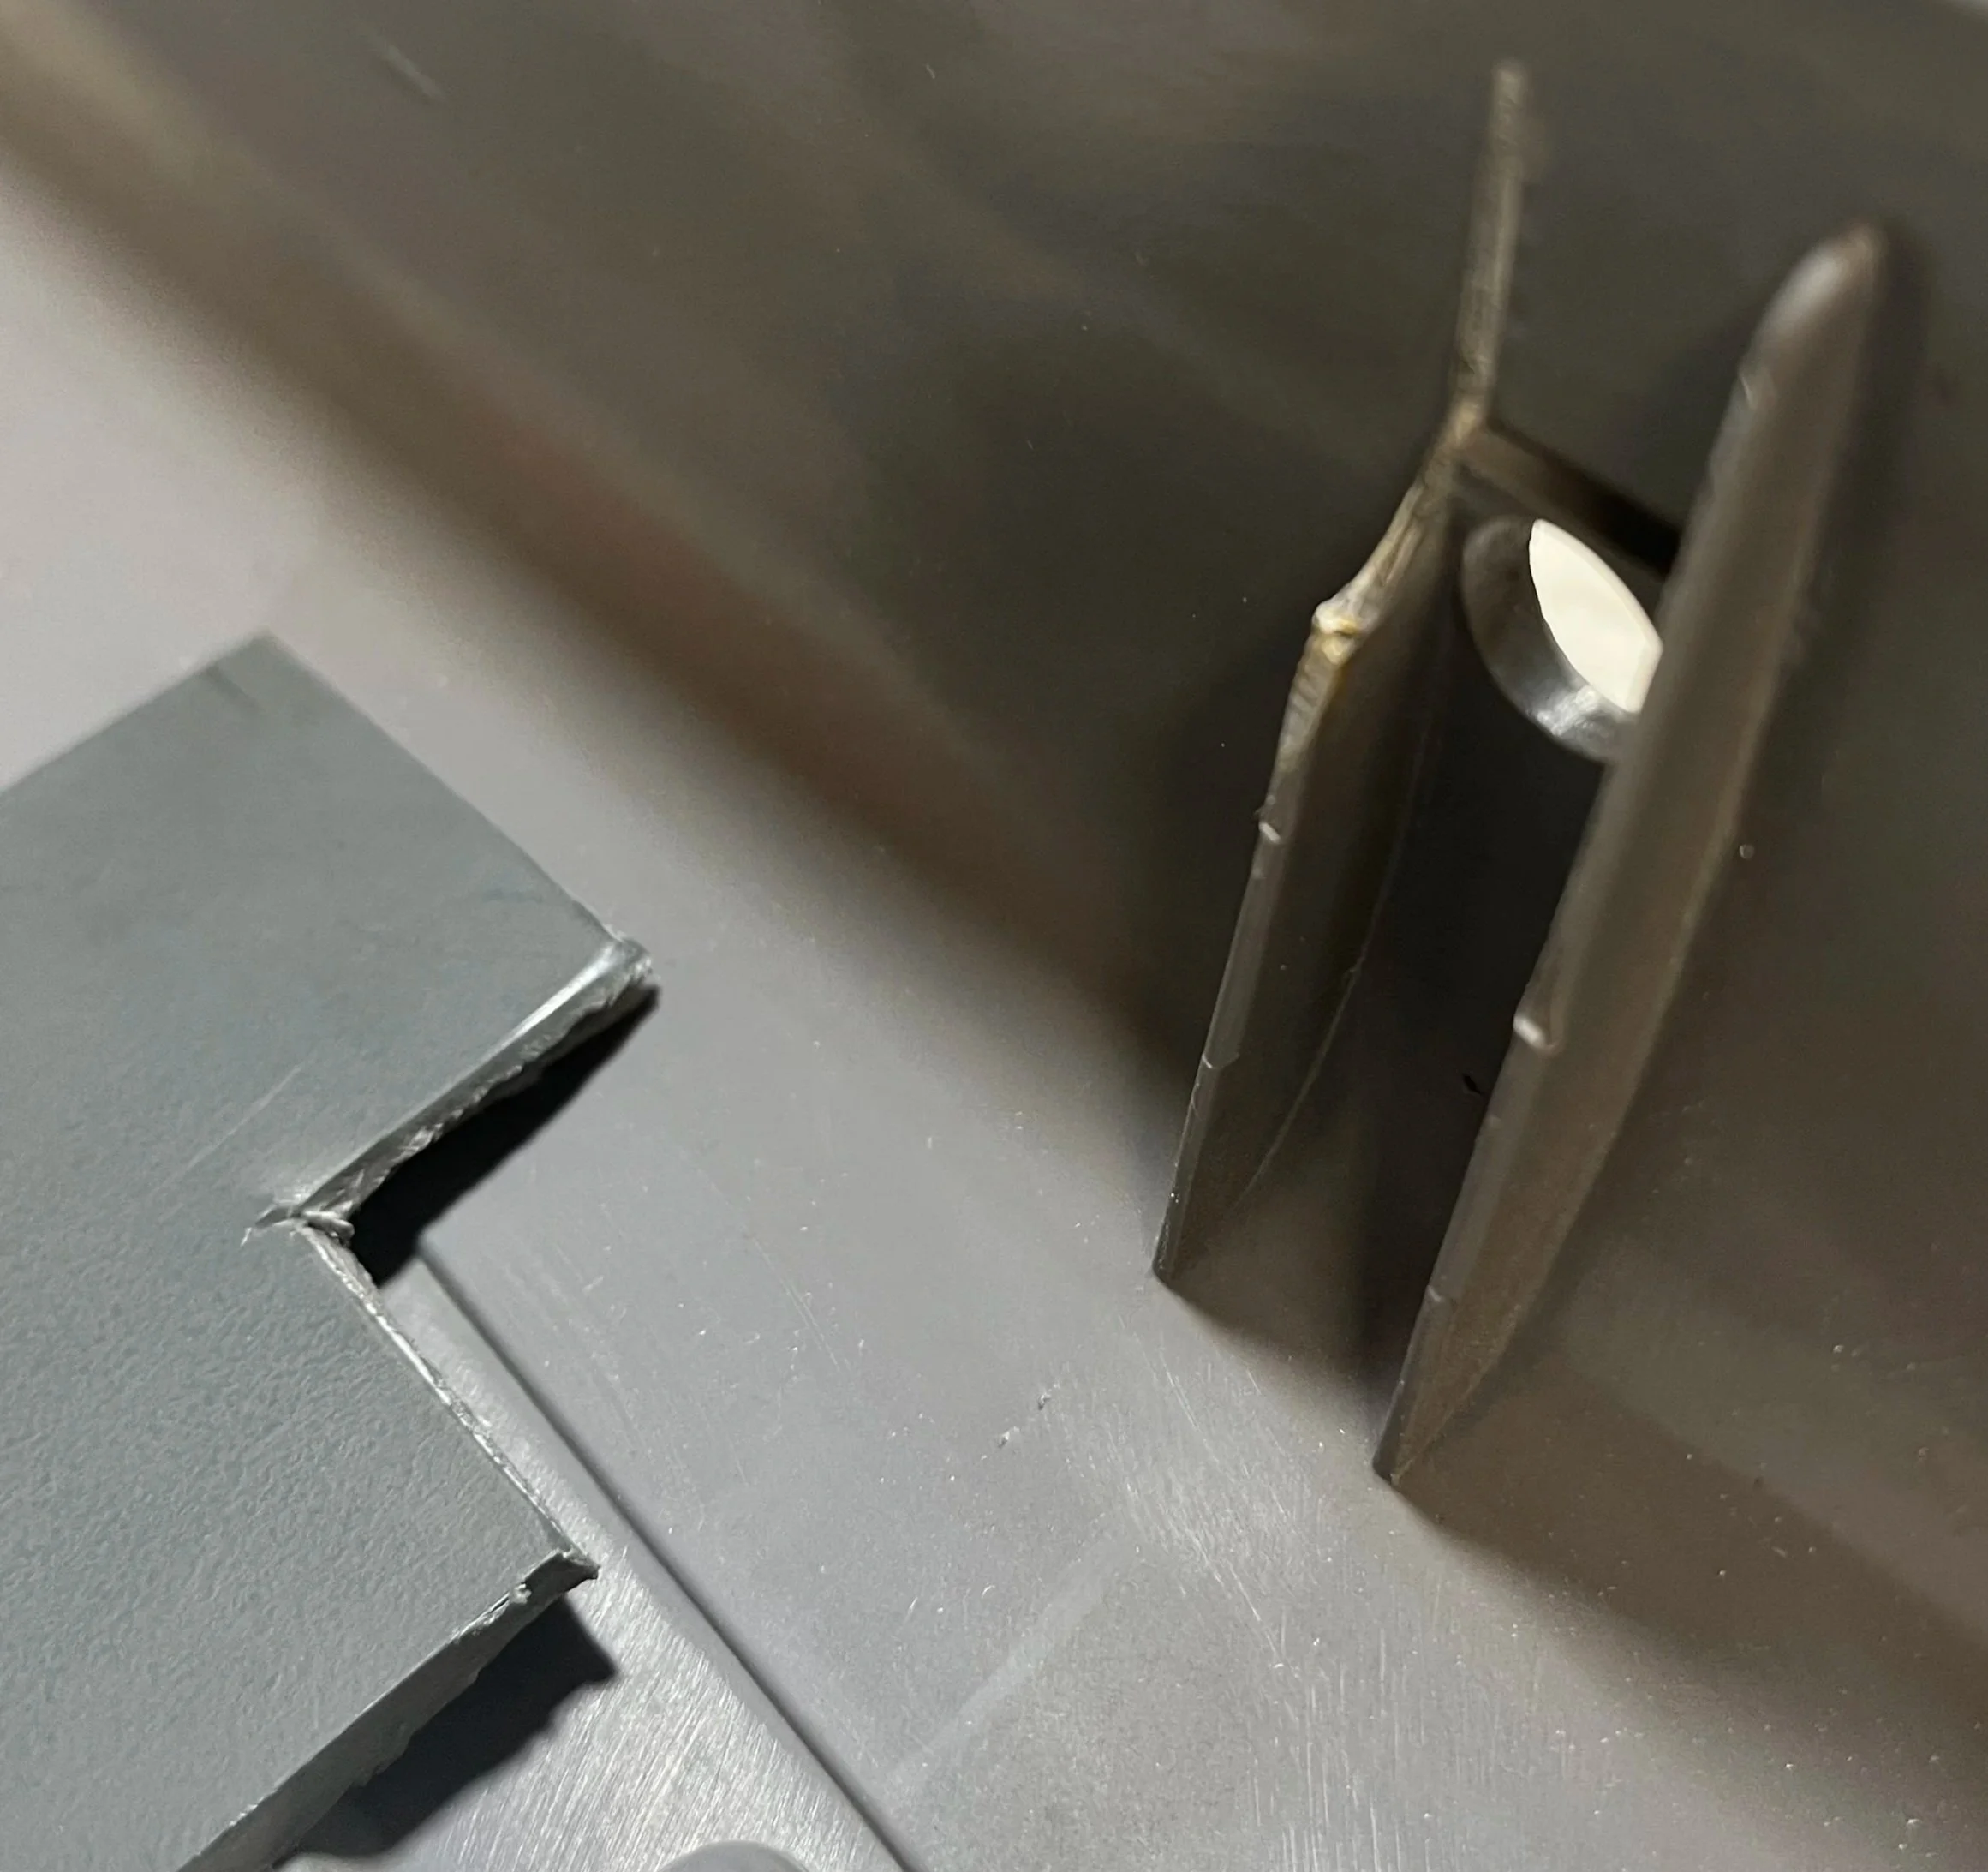
Utilizing original 90’s Ford plastic stock for repairs.
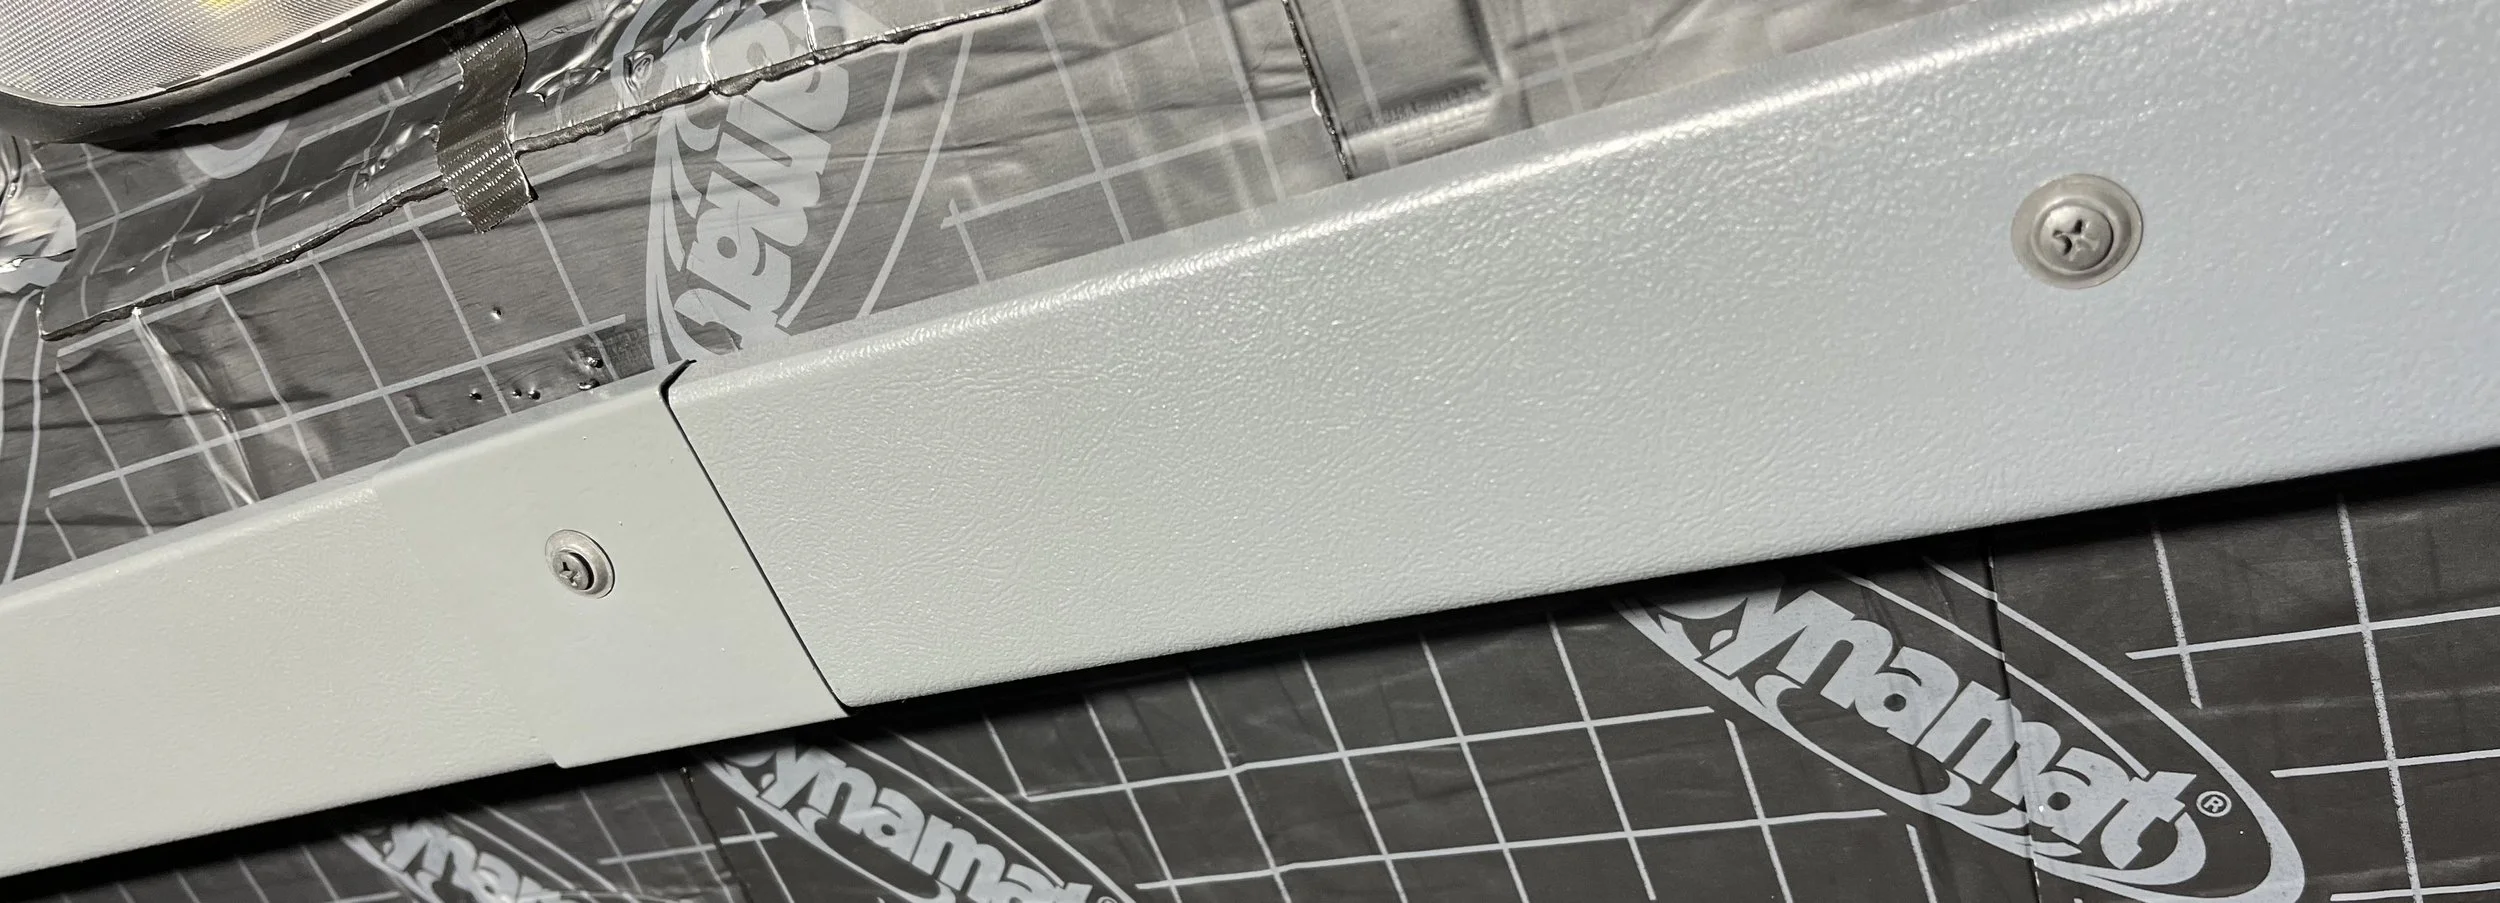
Painted roof trim (no headliner) with repairs, adhesion promoter, texturing and paint completed. Note different style of Ford attachment screws.
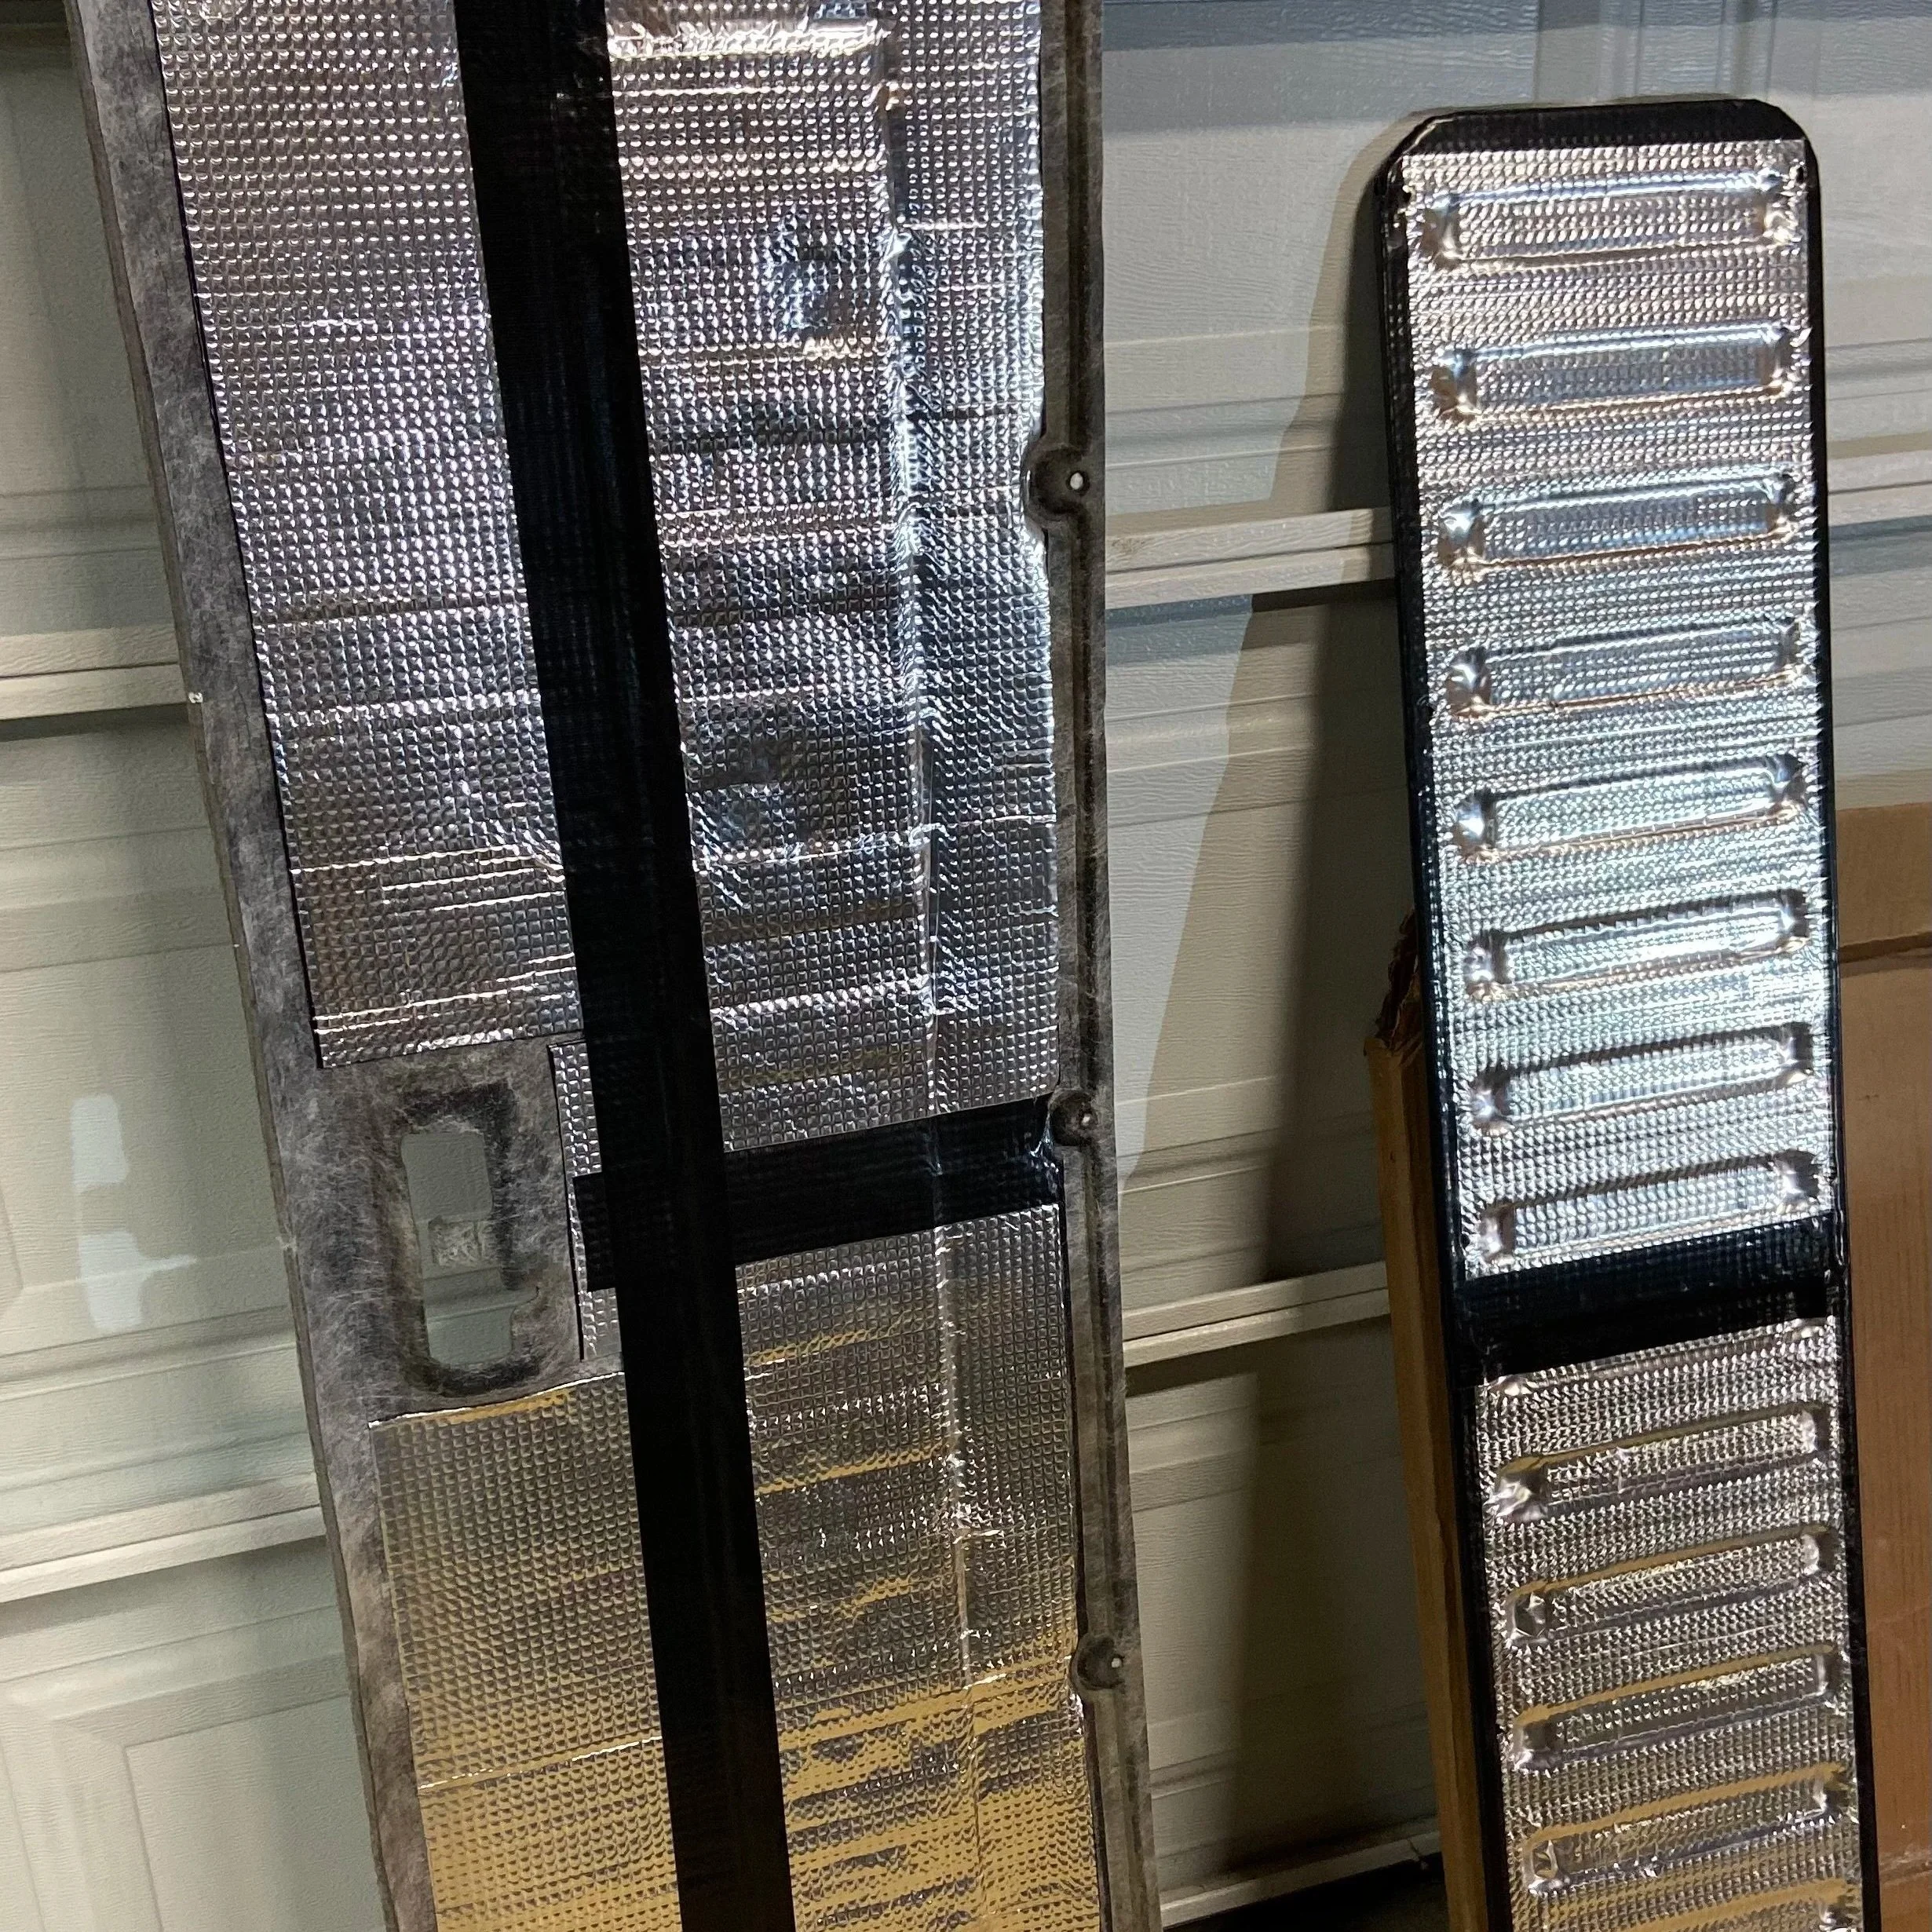
Insulated tailgate parts
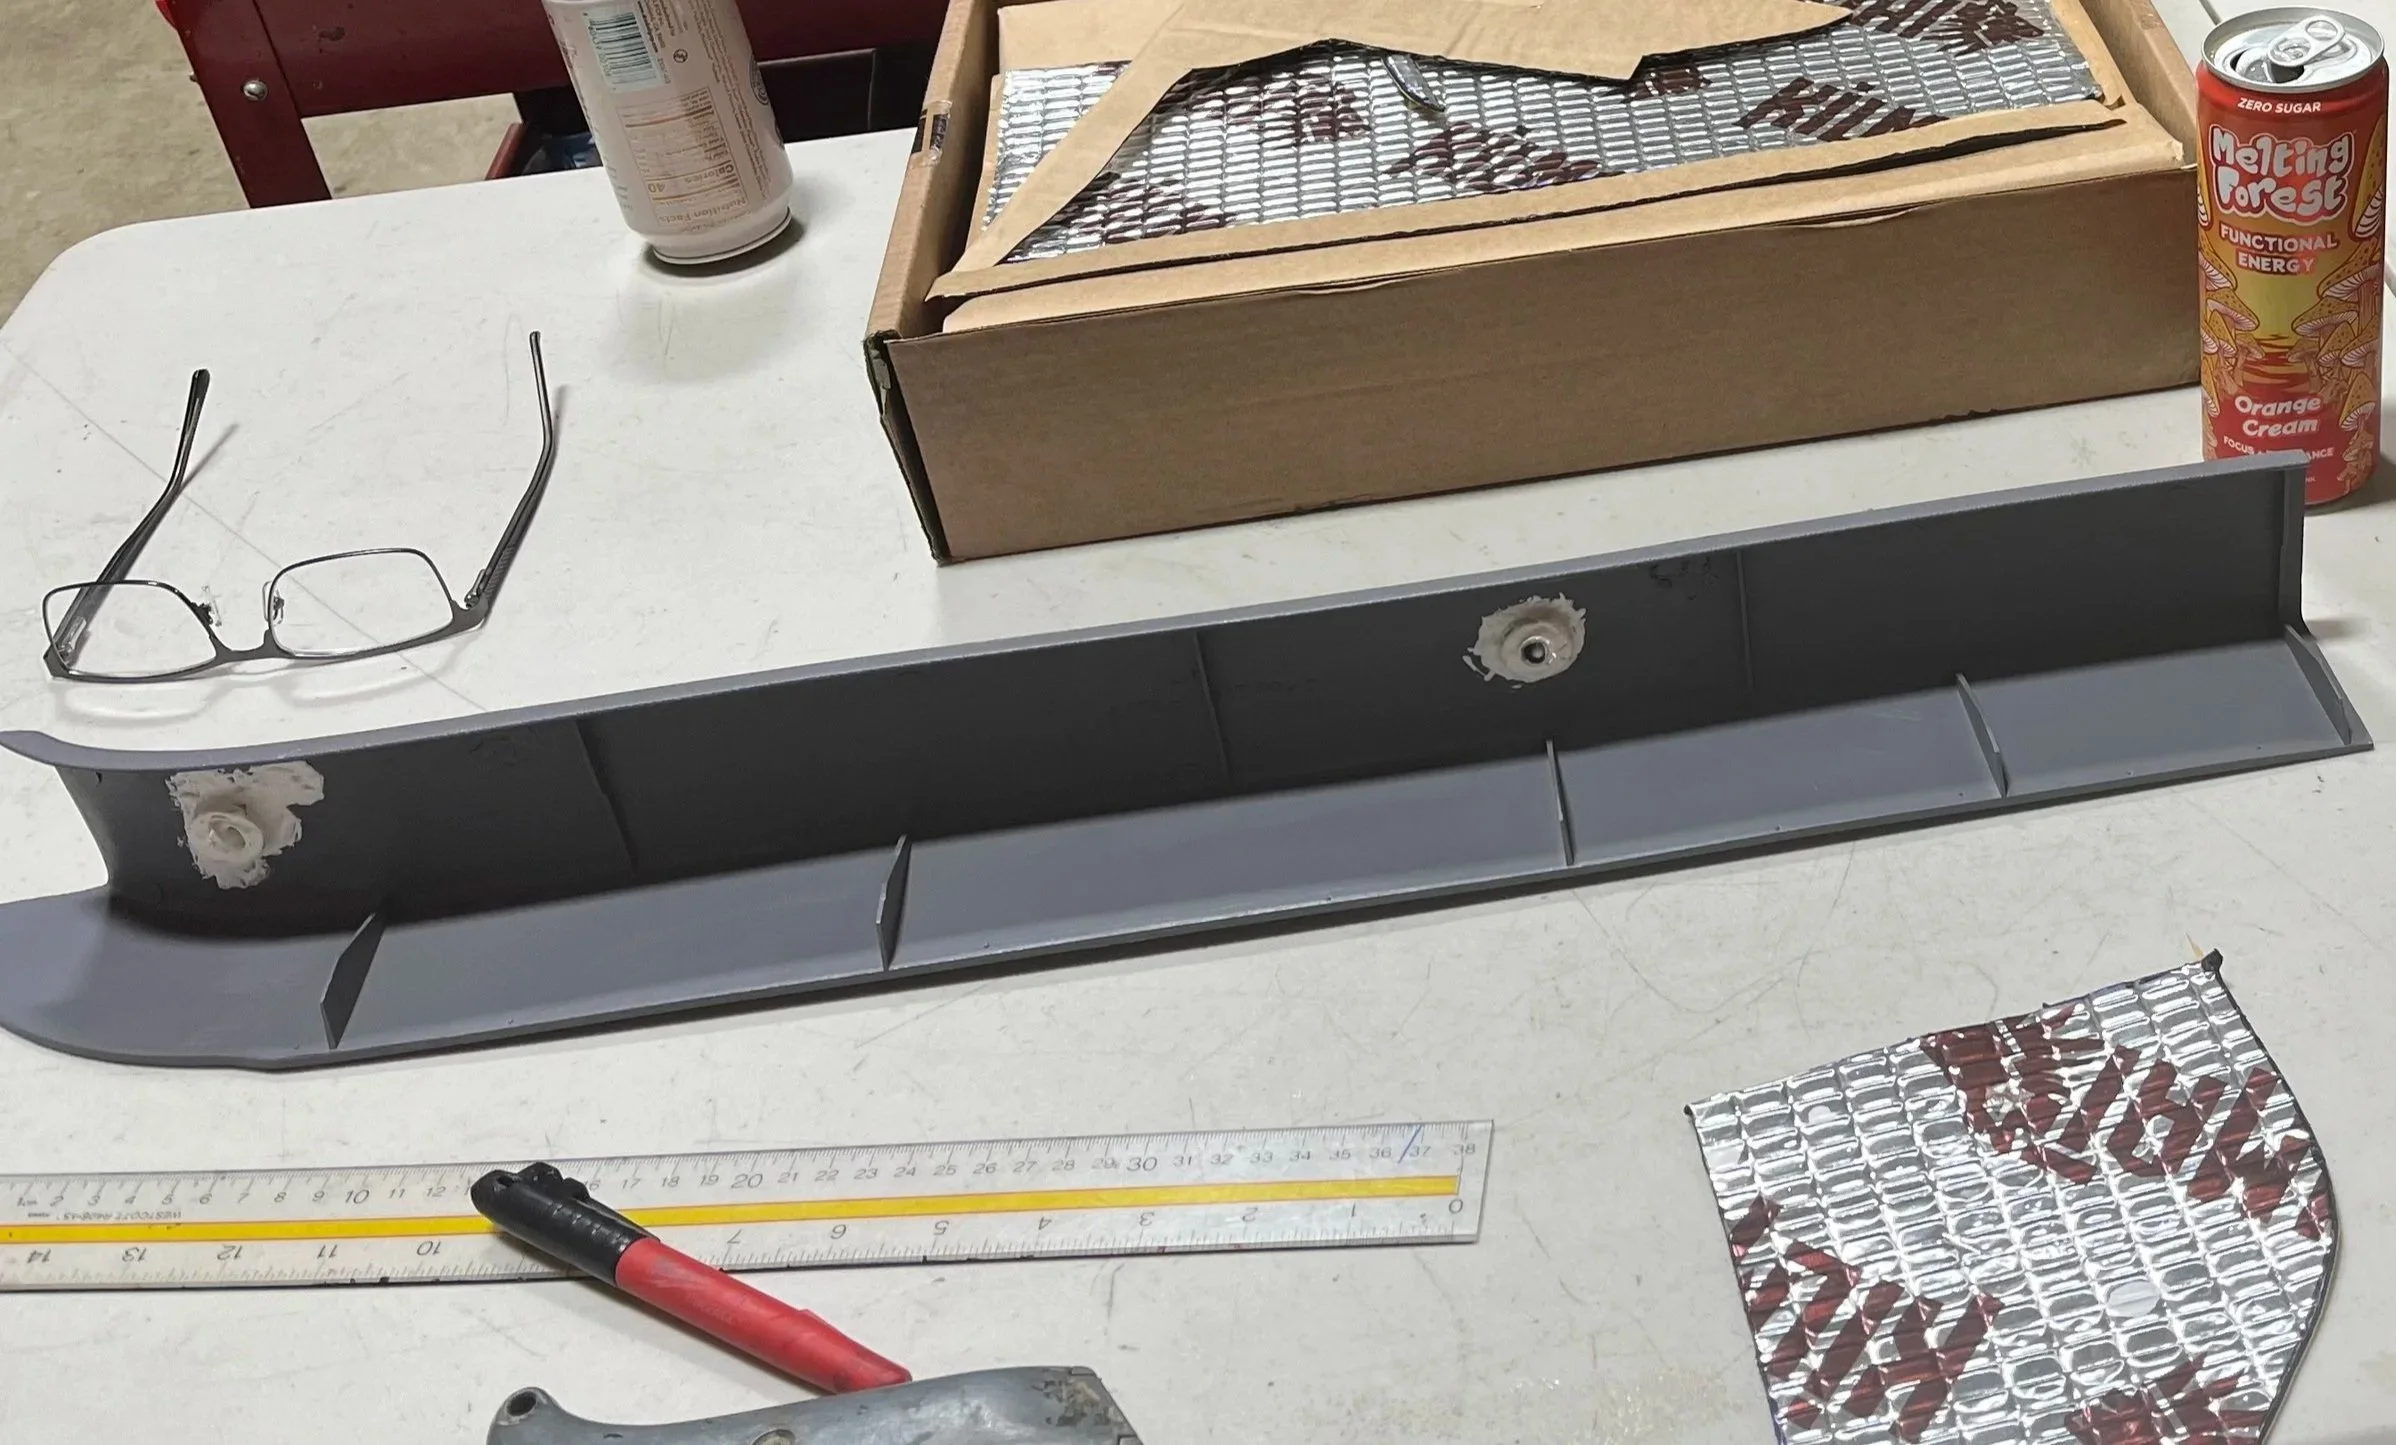
Essentially my layout for each plastic piece repair & upgrade.
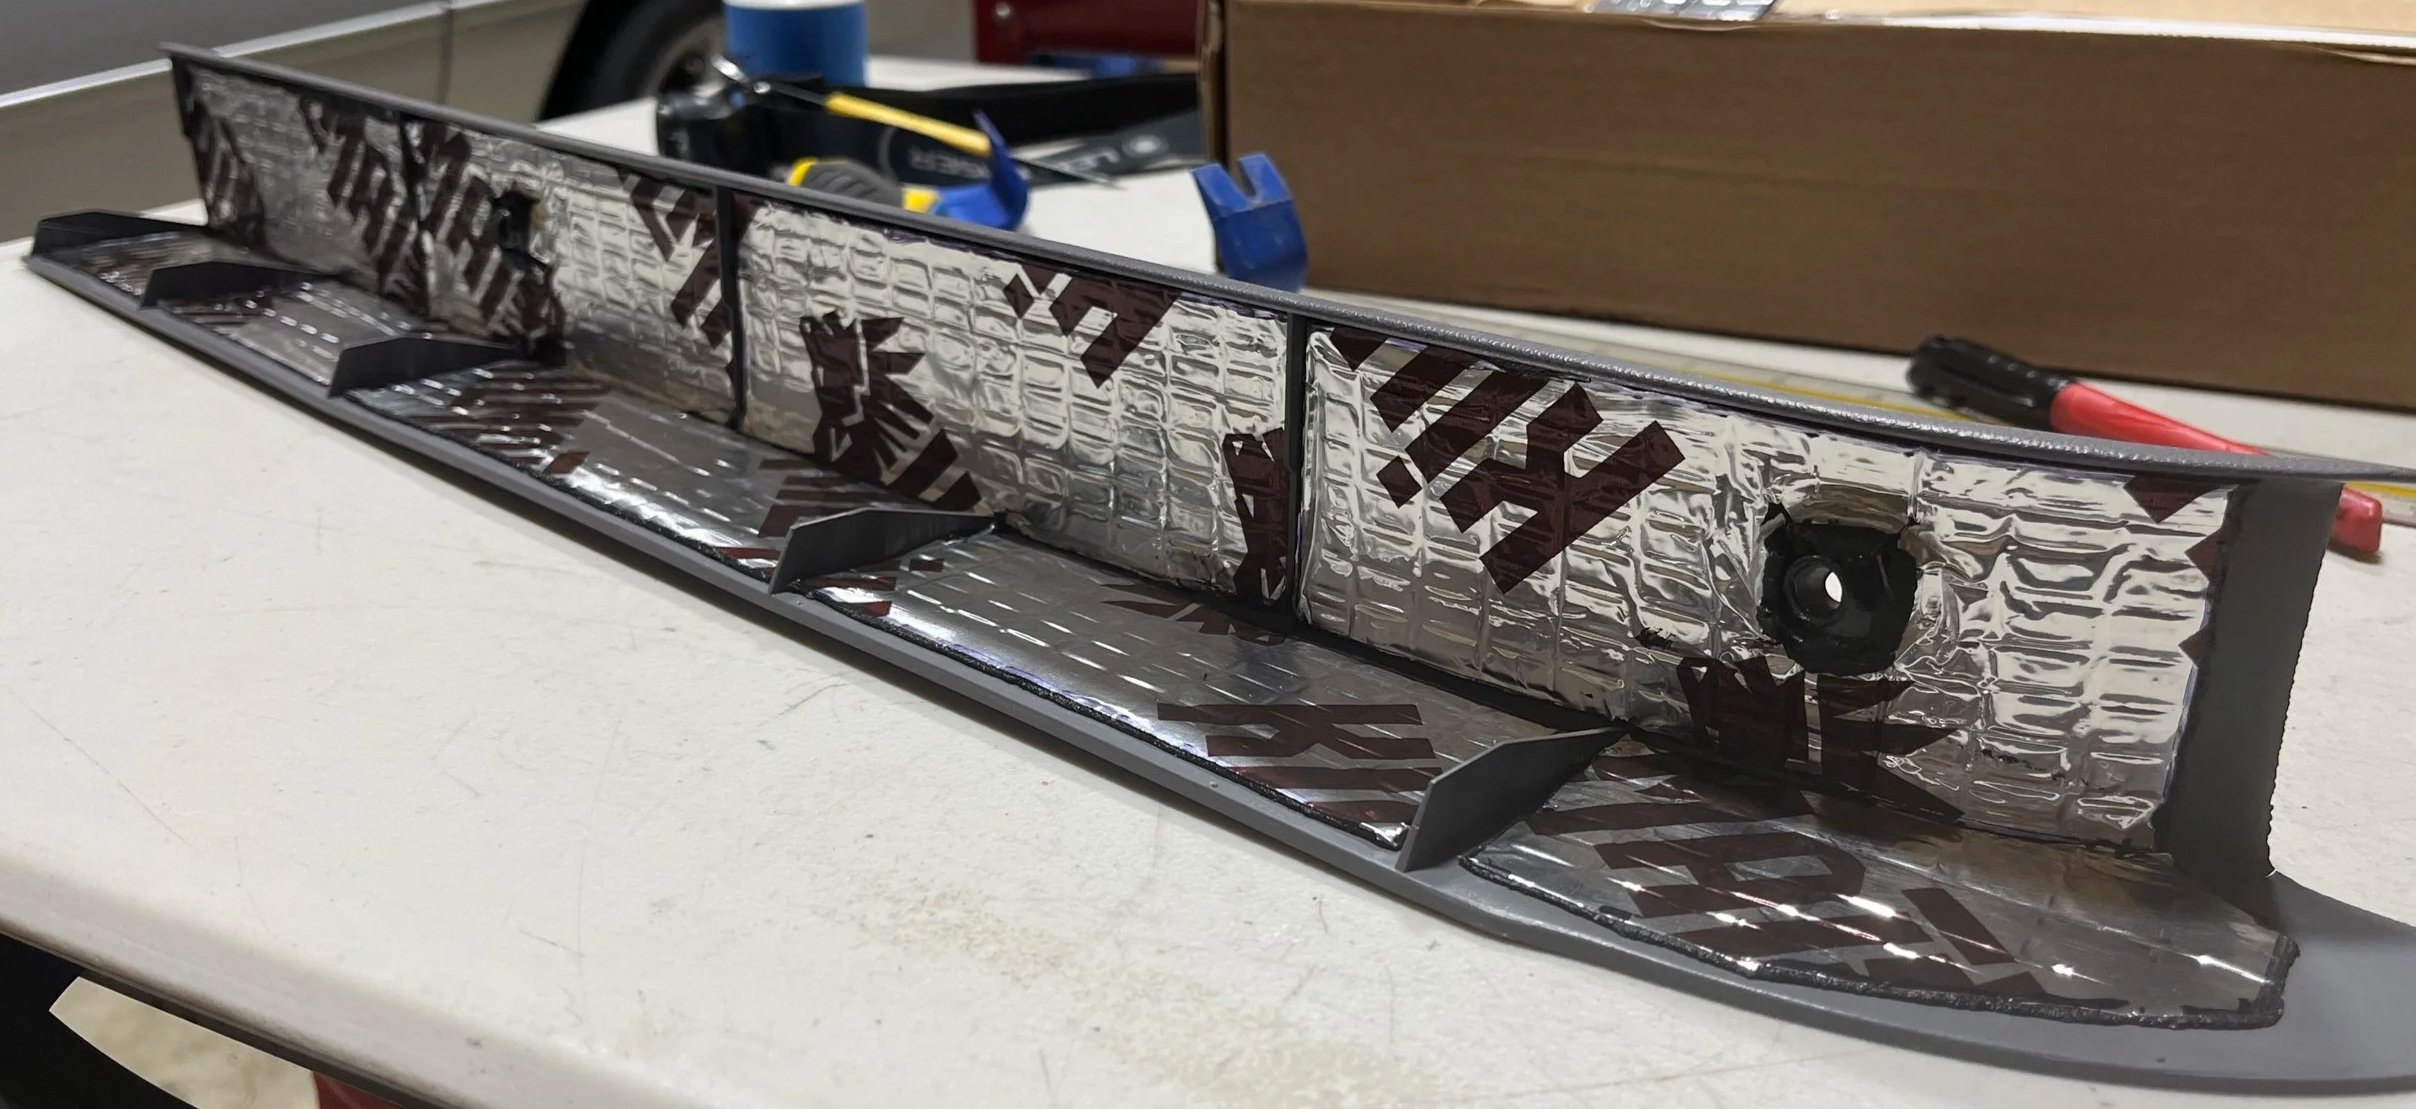
Epoxy, plastic, mounting pedestal and metal staple repairs / upgrades completed. Kilmat applied to interior trim piece.
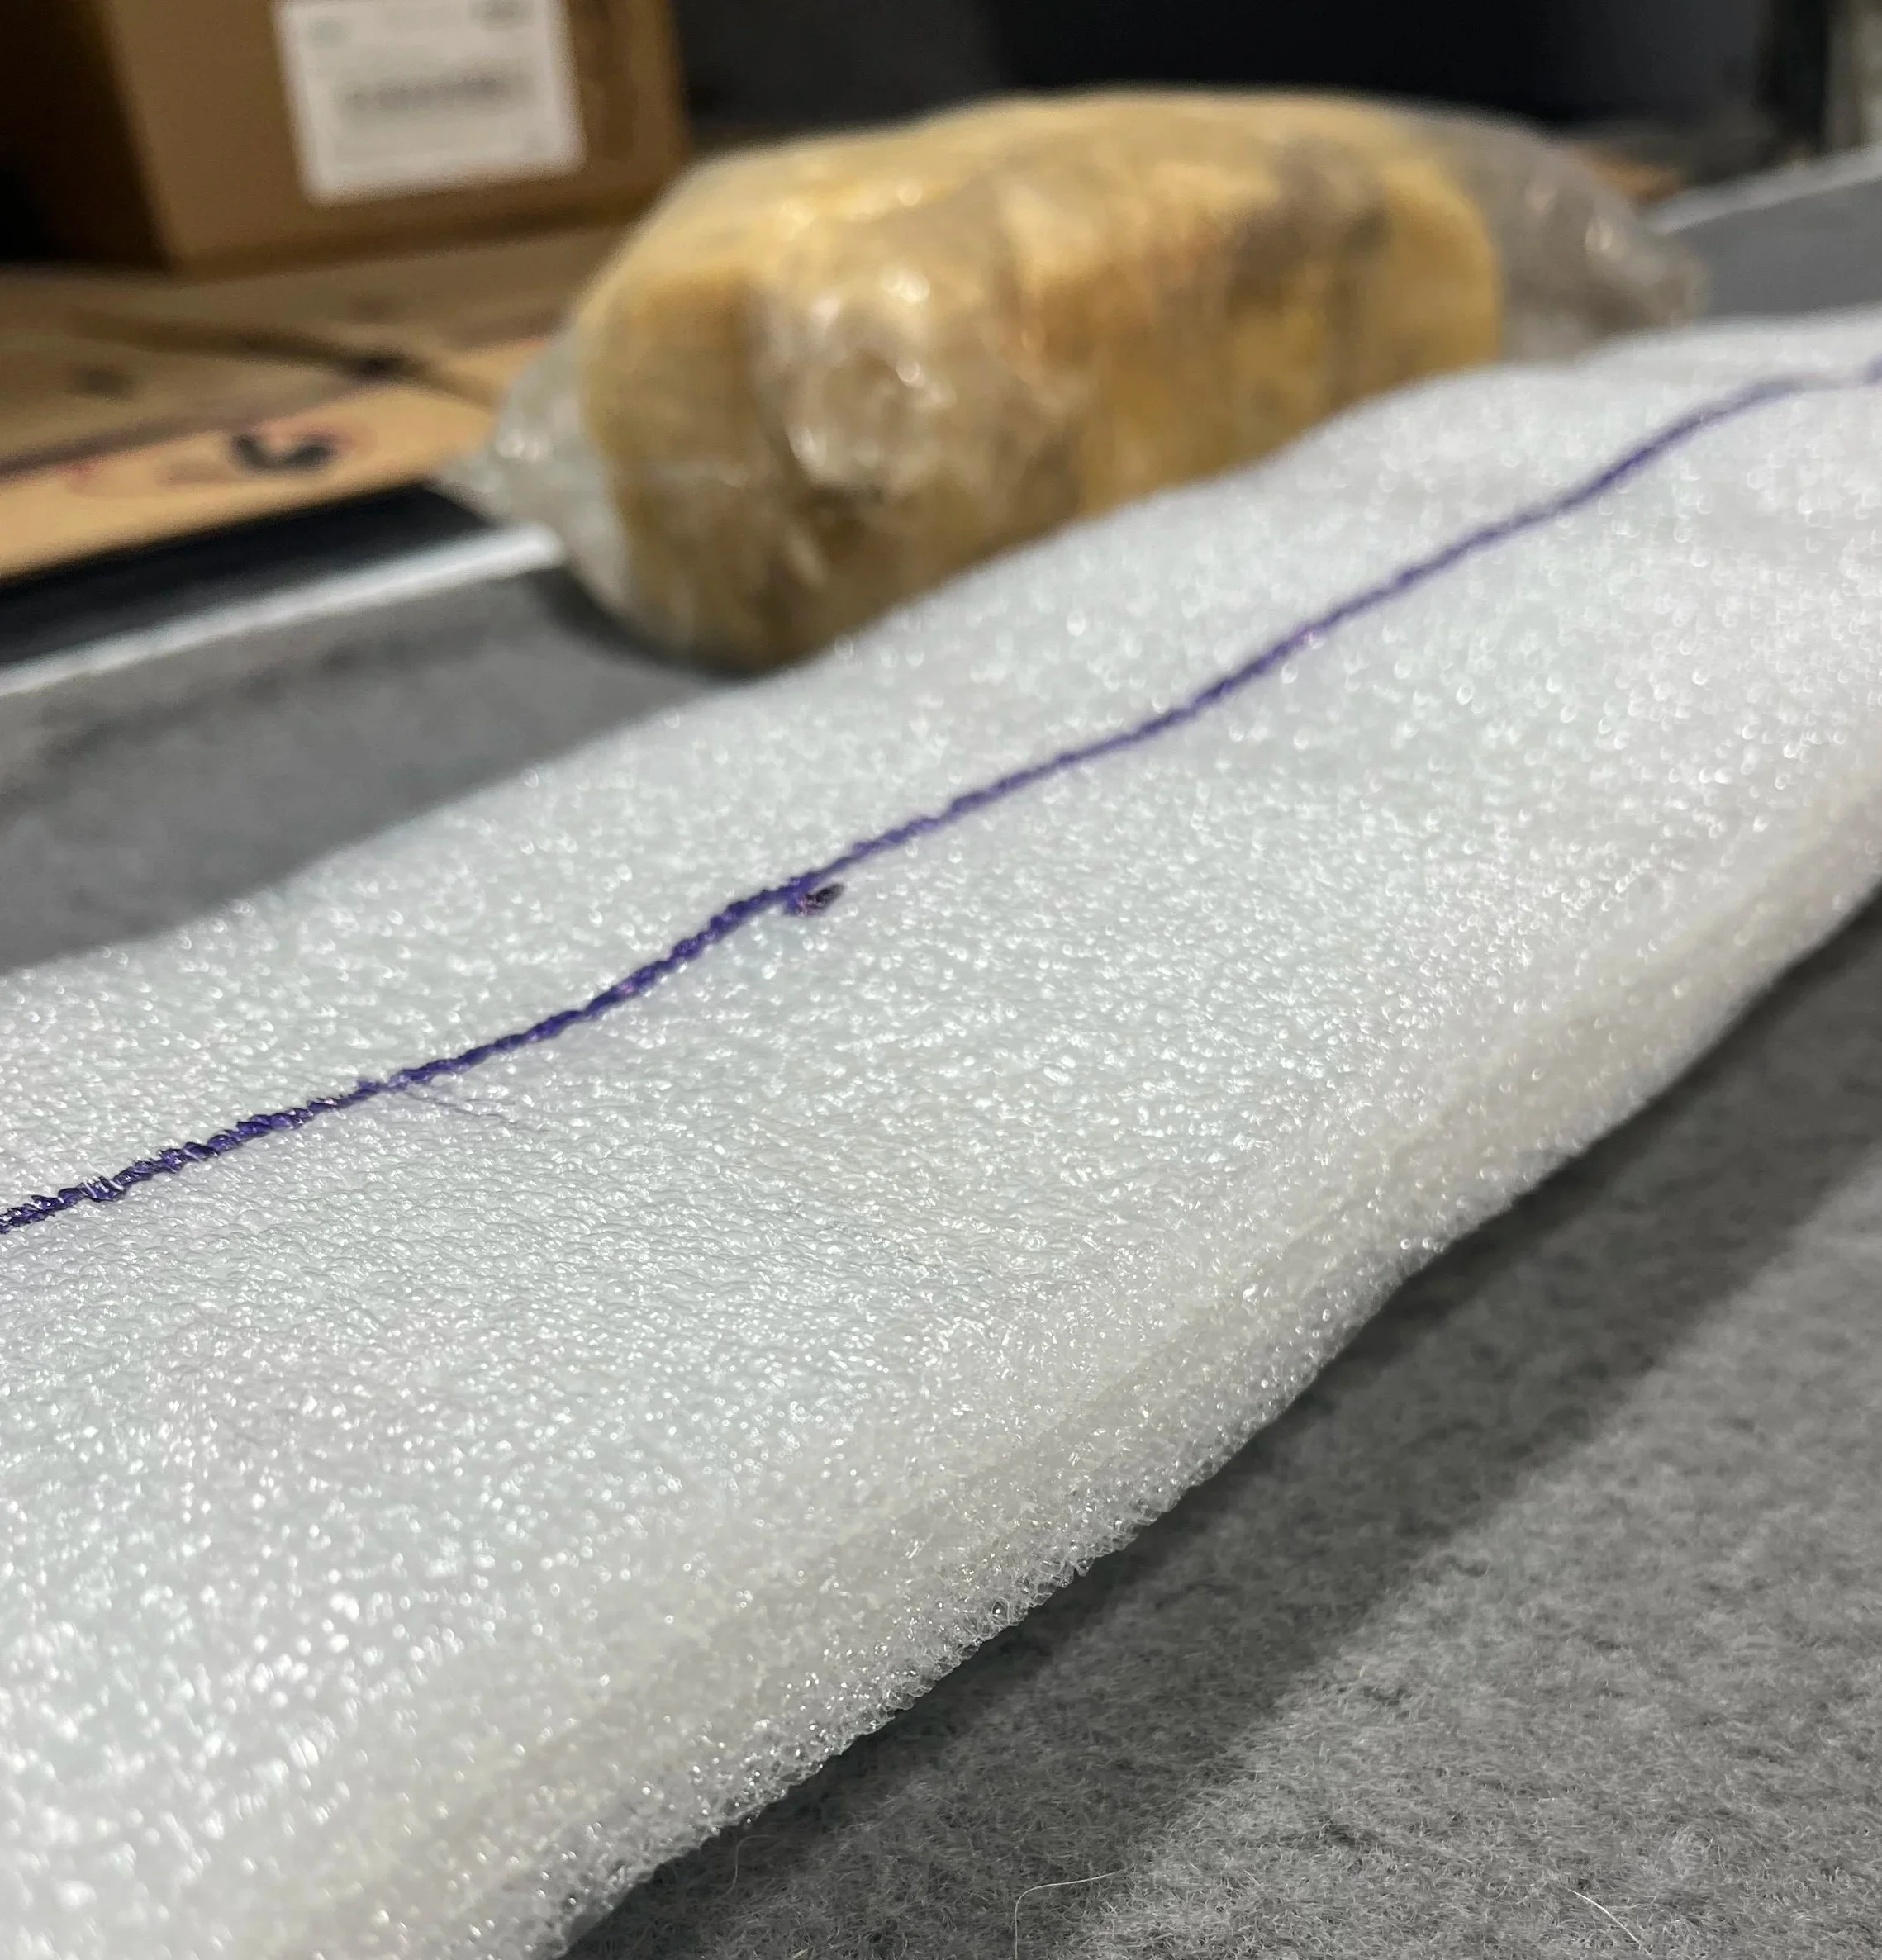
Example of 90’s factory insulation inserts (loose fiber insulation in a plastic bag), versus an example of closed cell foam currently available.
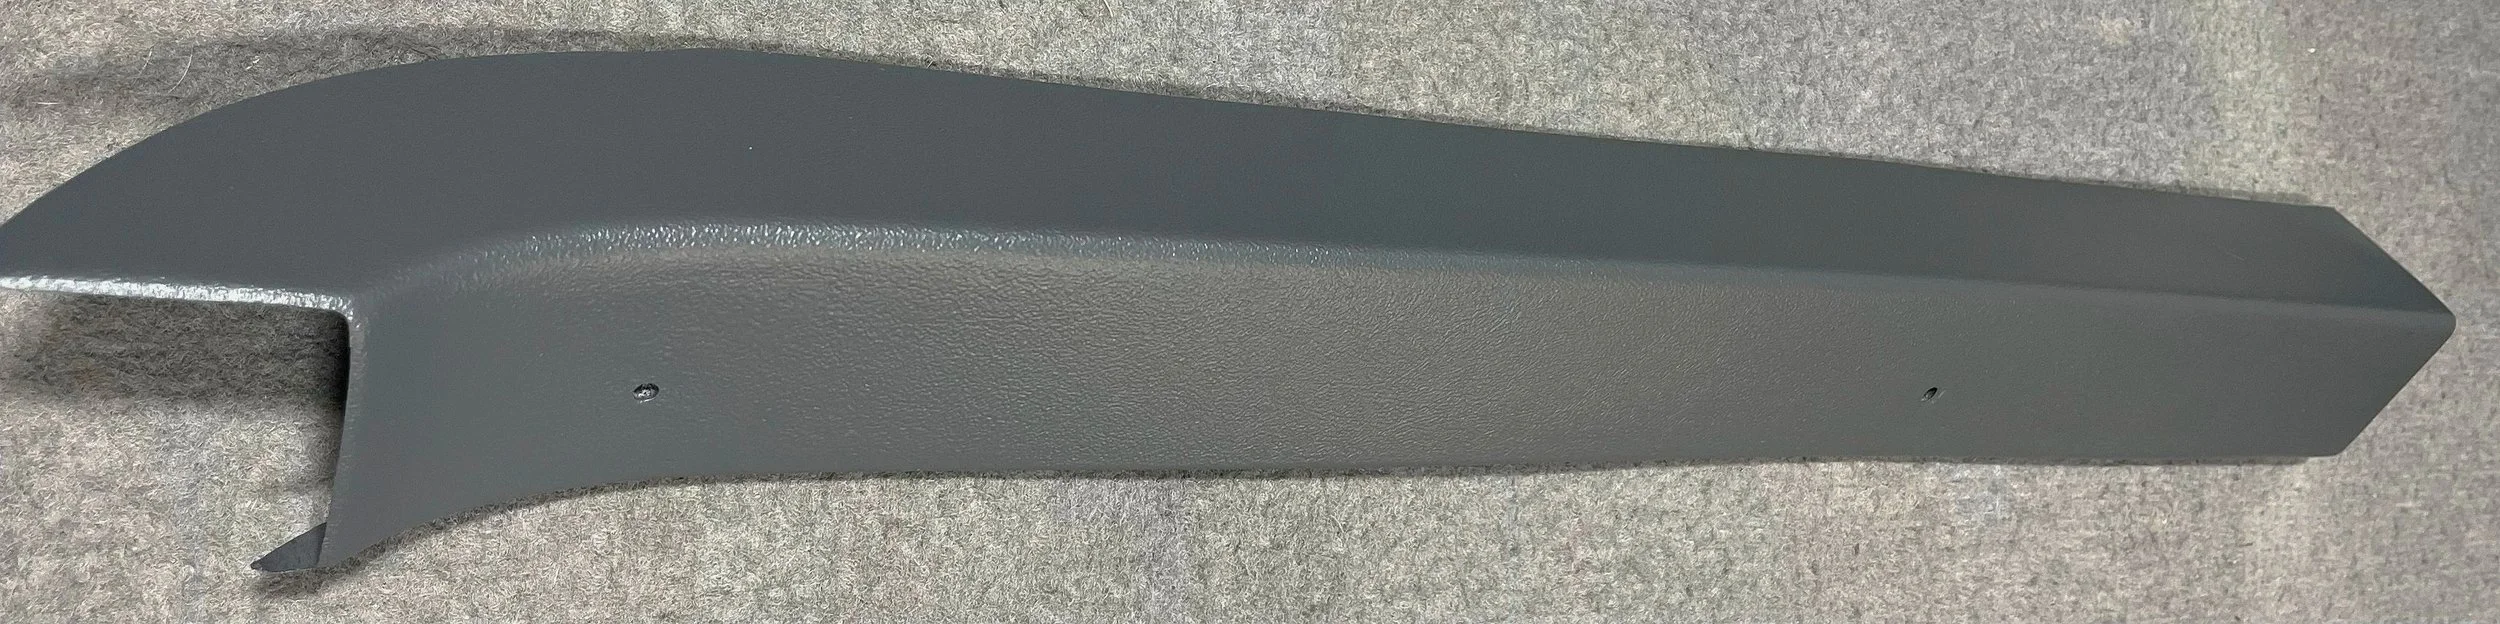
Repaired trim piece after refinishing. Note: mounting holes no longer “V” shaped for additional strength.
Insulated interior door (no inner door panel).
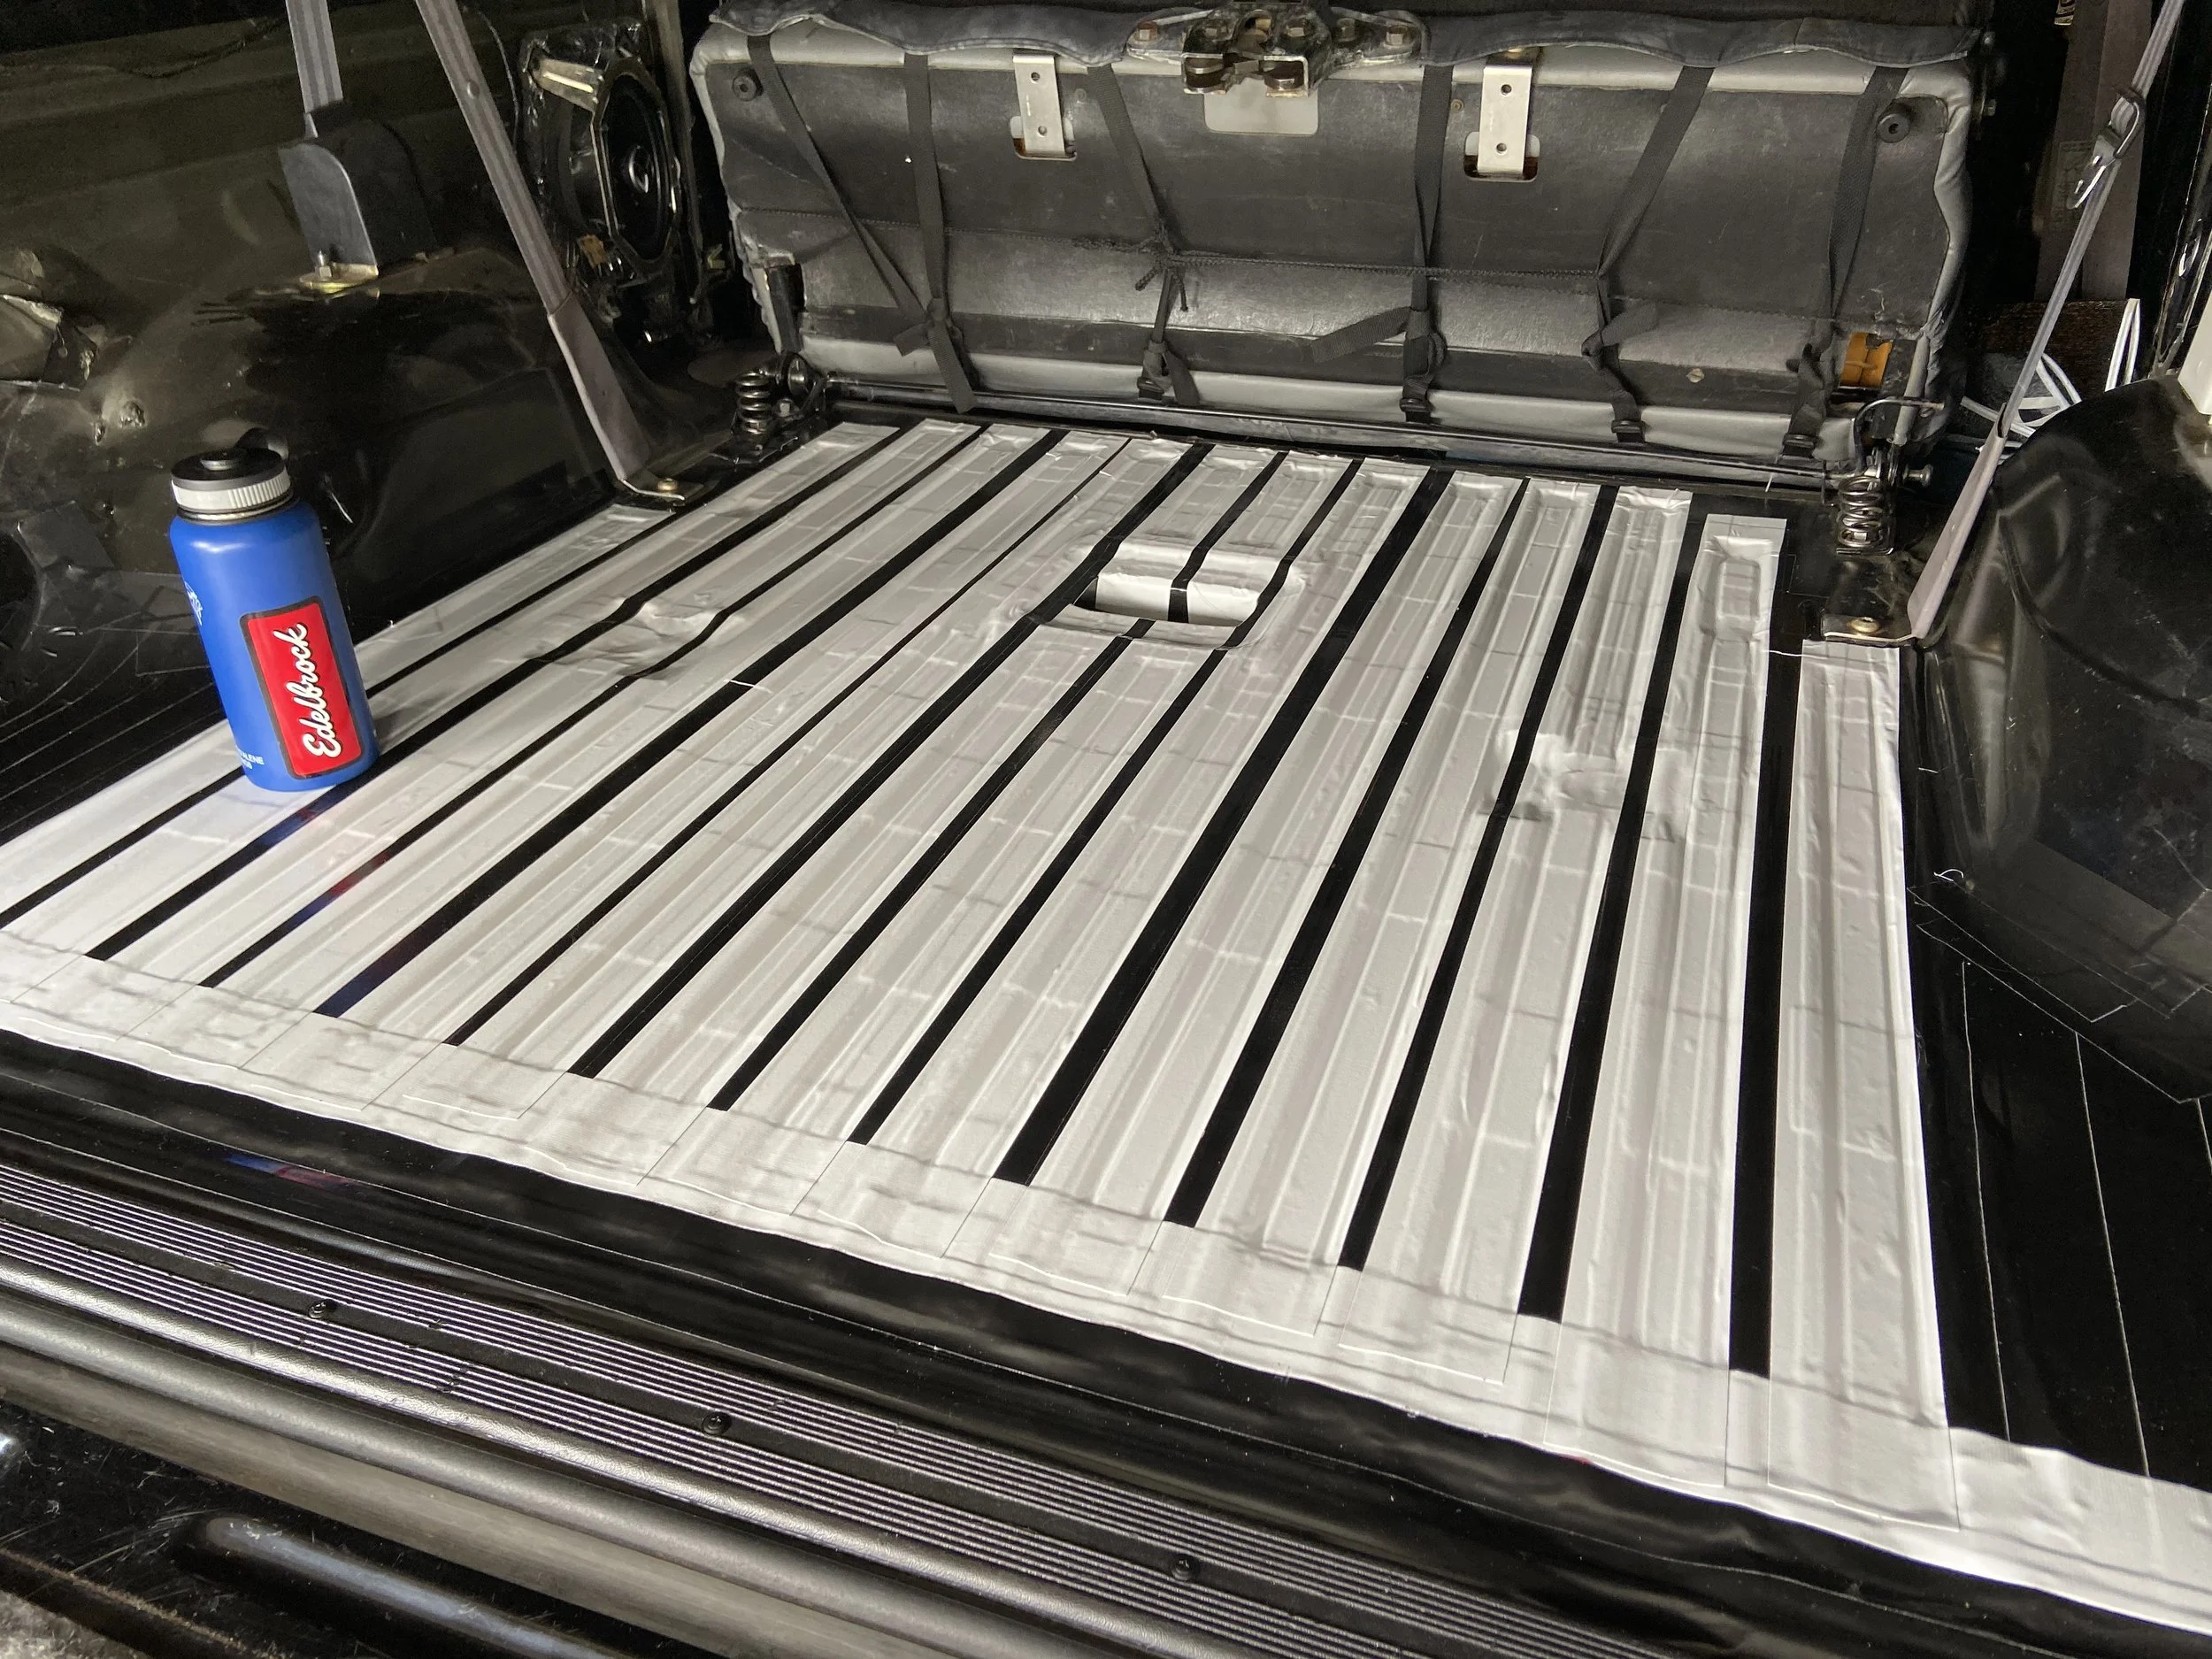
Rear floor with metal strips secured / sealed and prior to Dynamat, then vinyl flooring being installed.
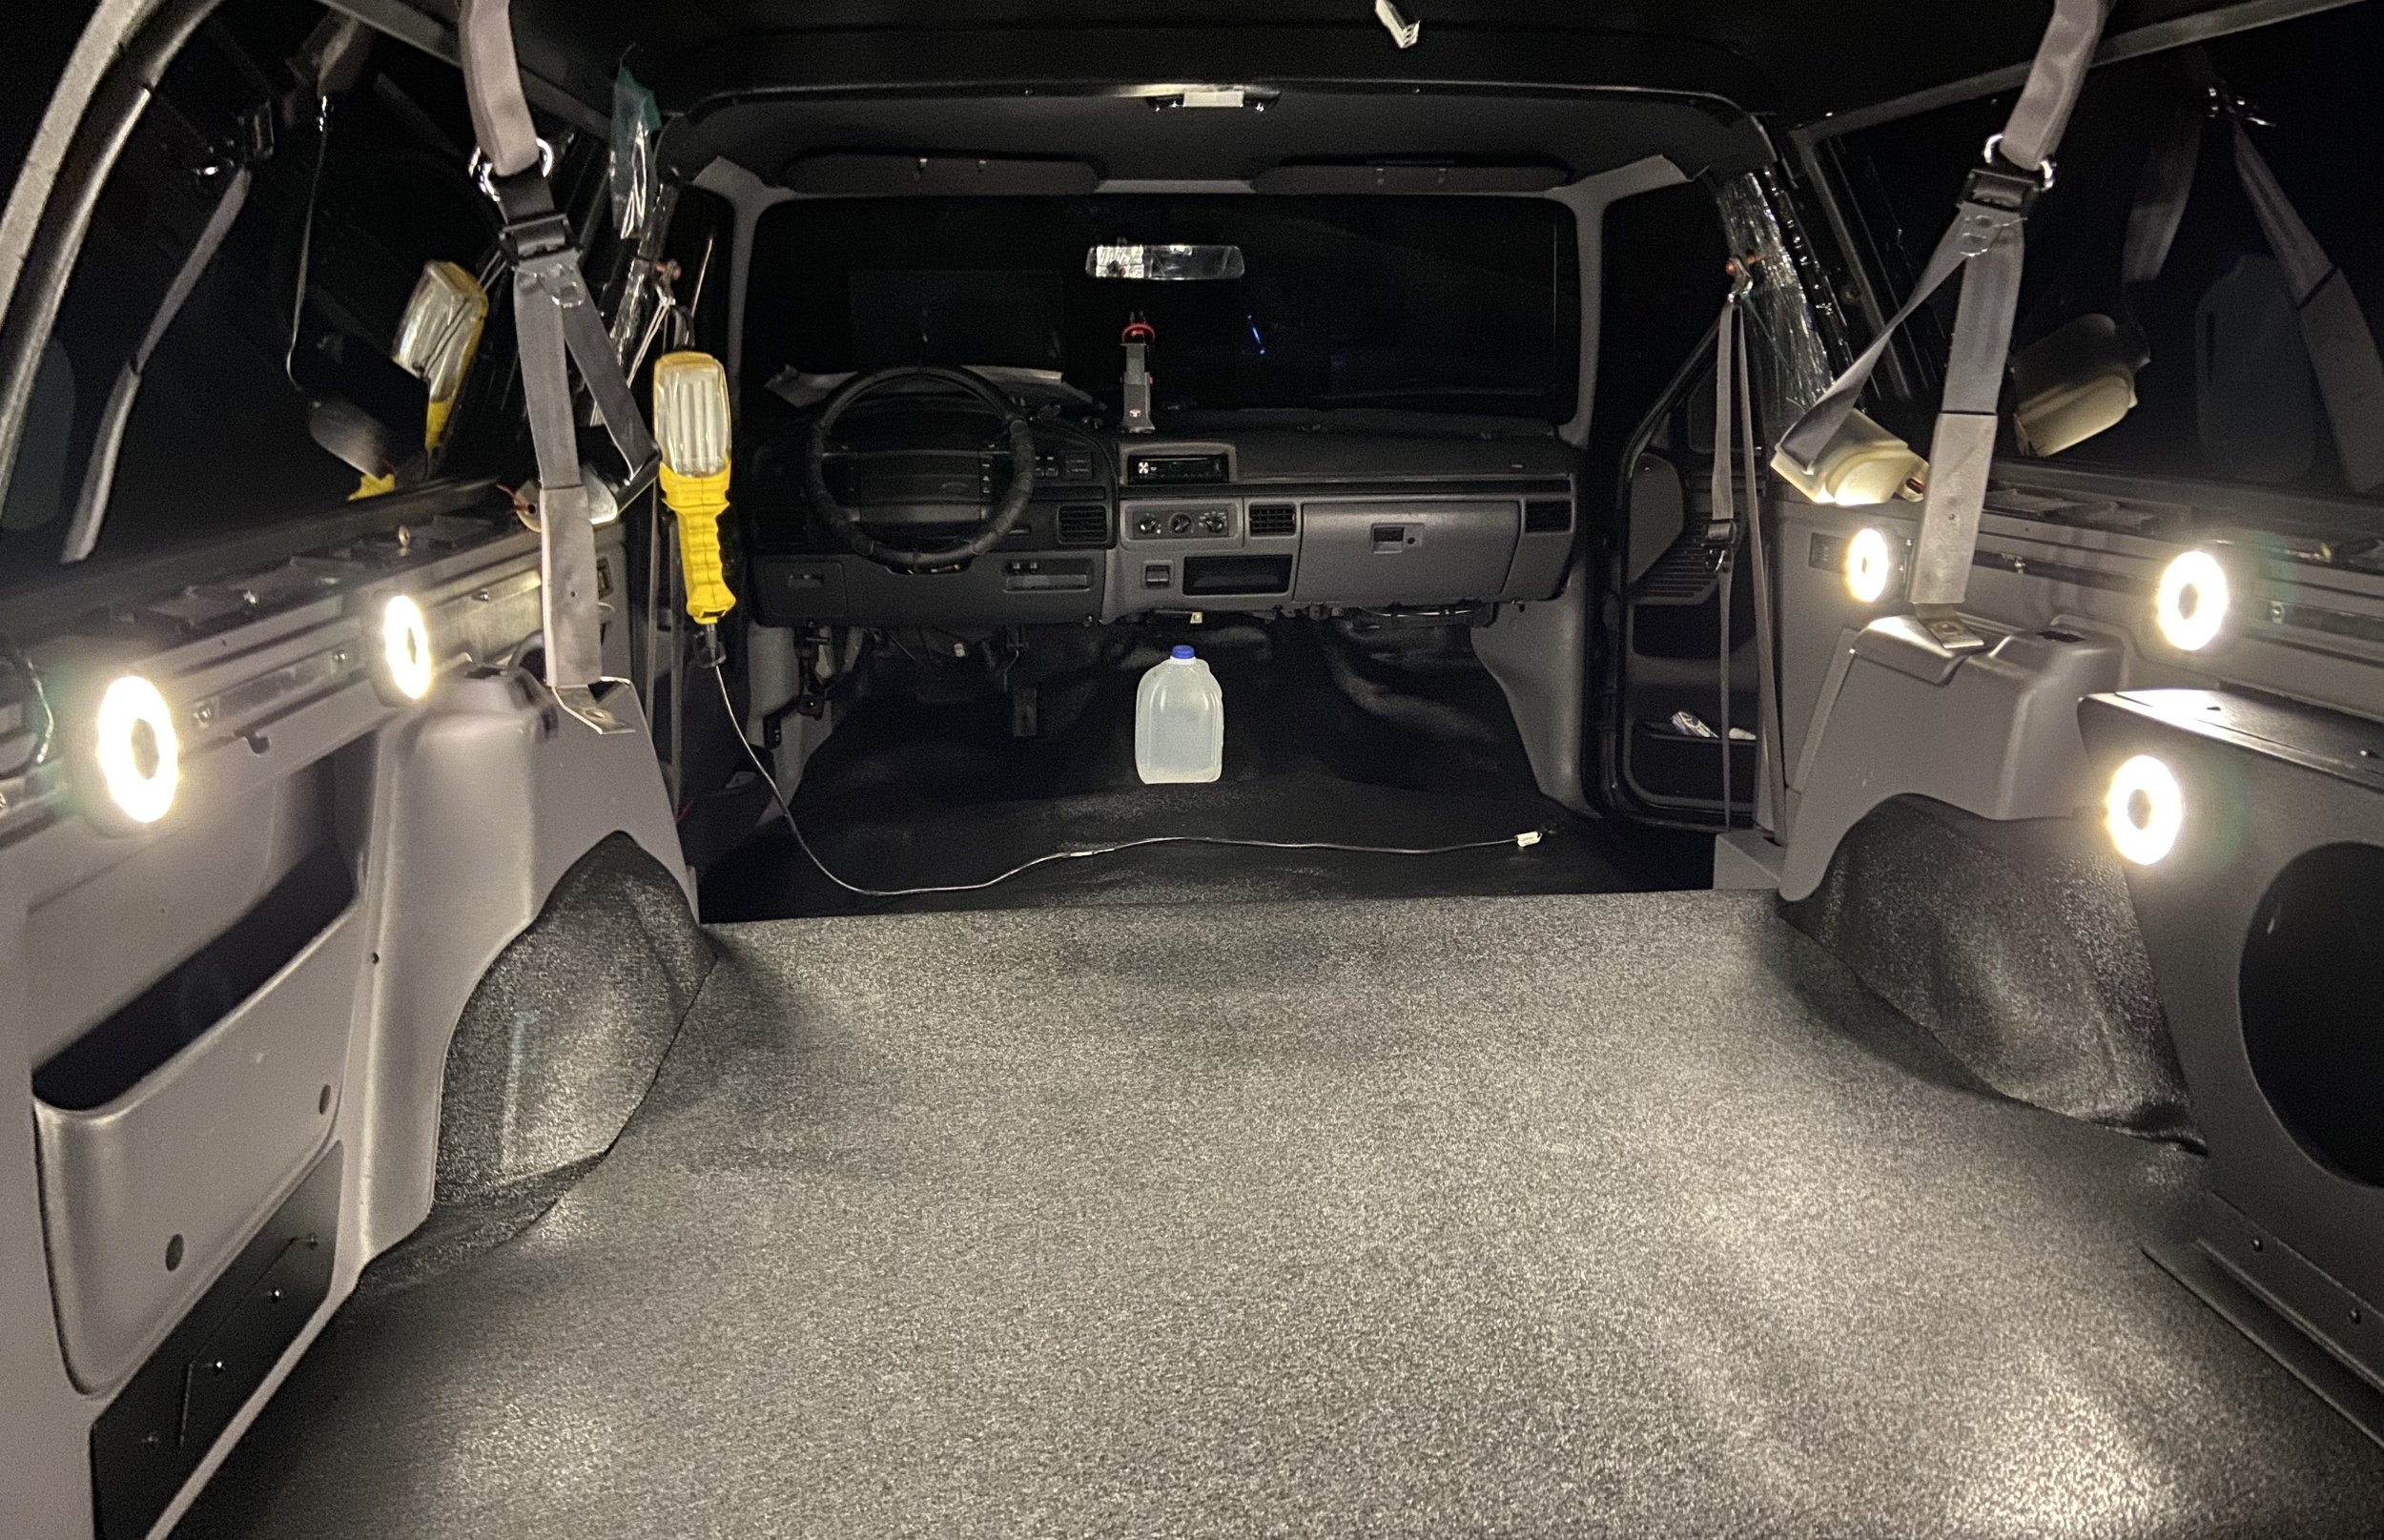
Floor, trim, and rear bed / side area insulated and vinyl flooring installed.
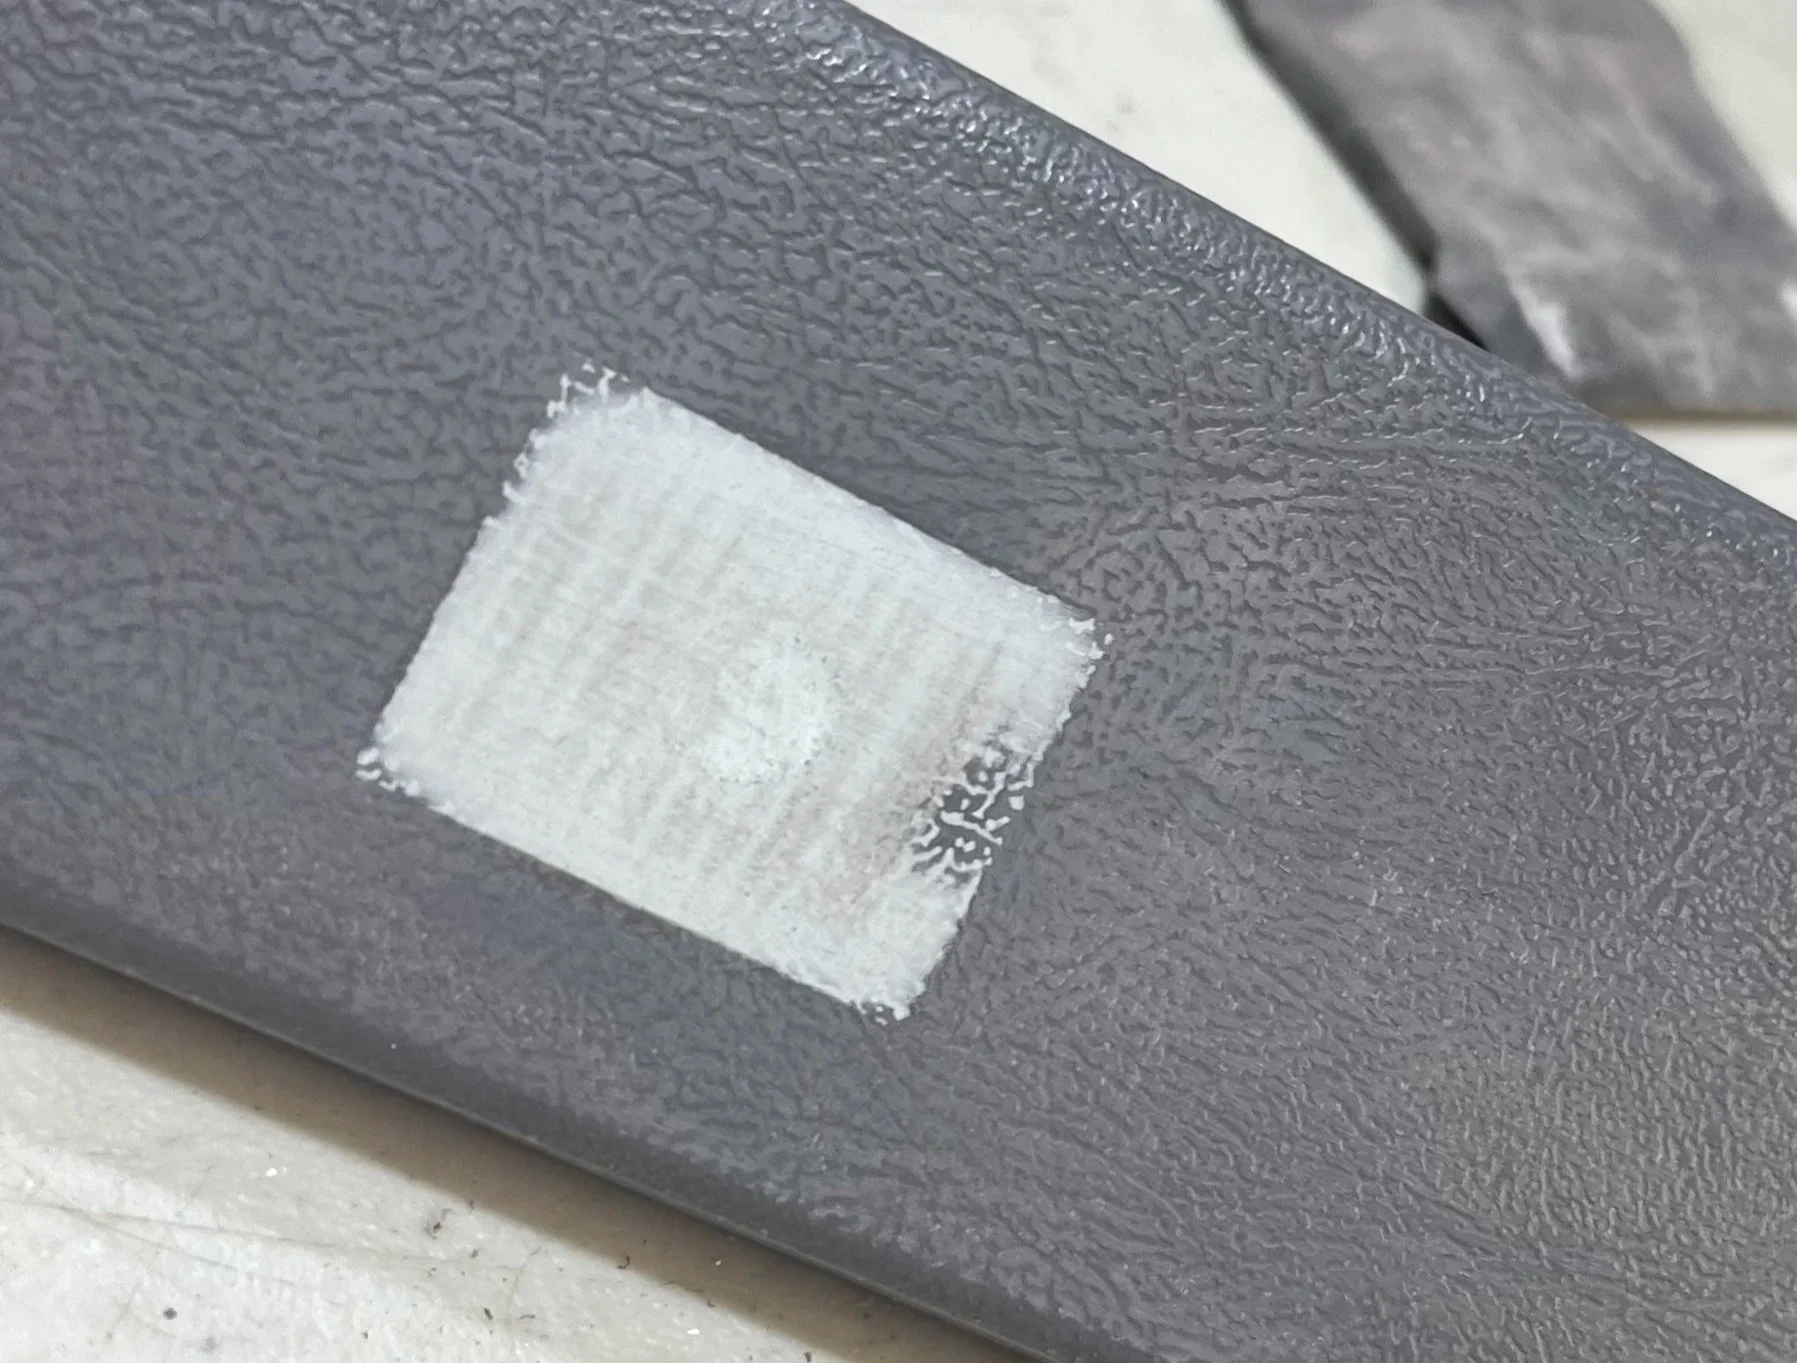
“SEM Bumper Bite” used to fill damaged area. Prior to sanding, adhesion promoter, texturing and painting.
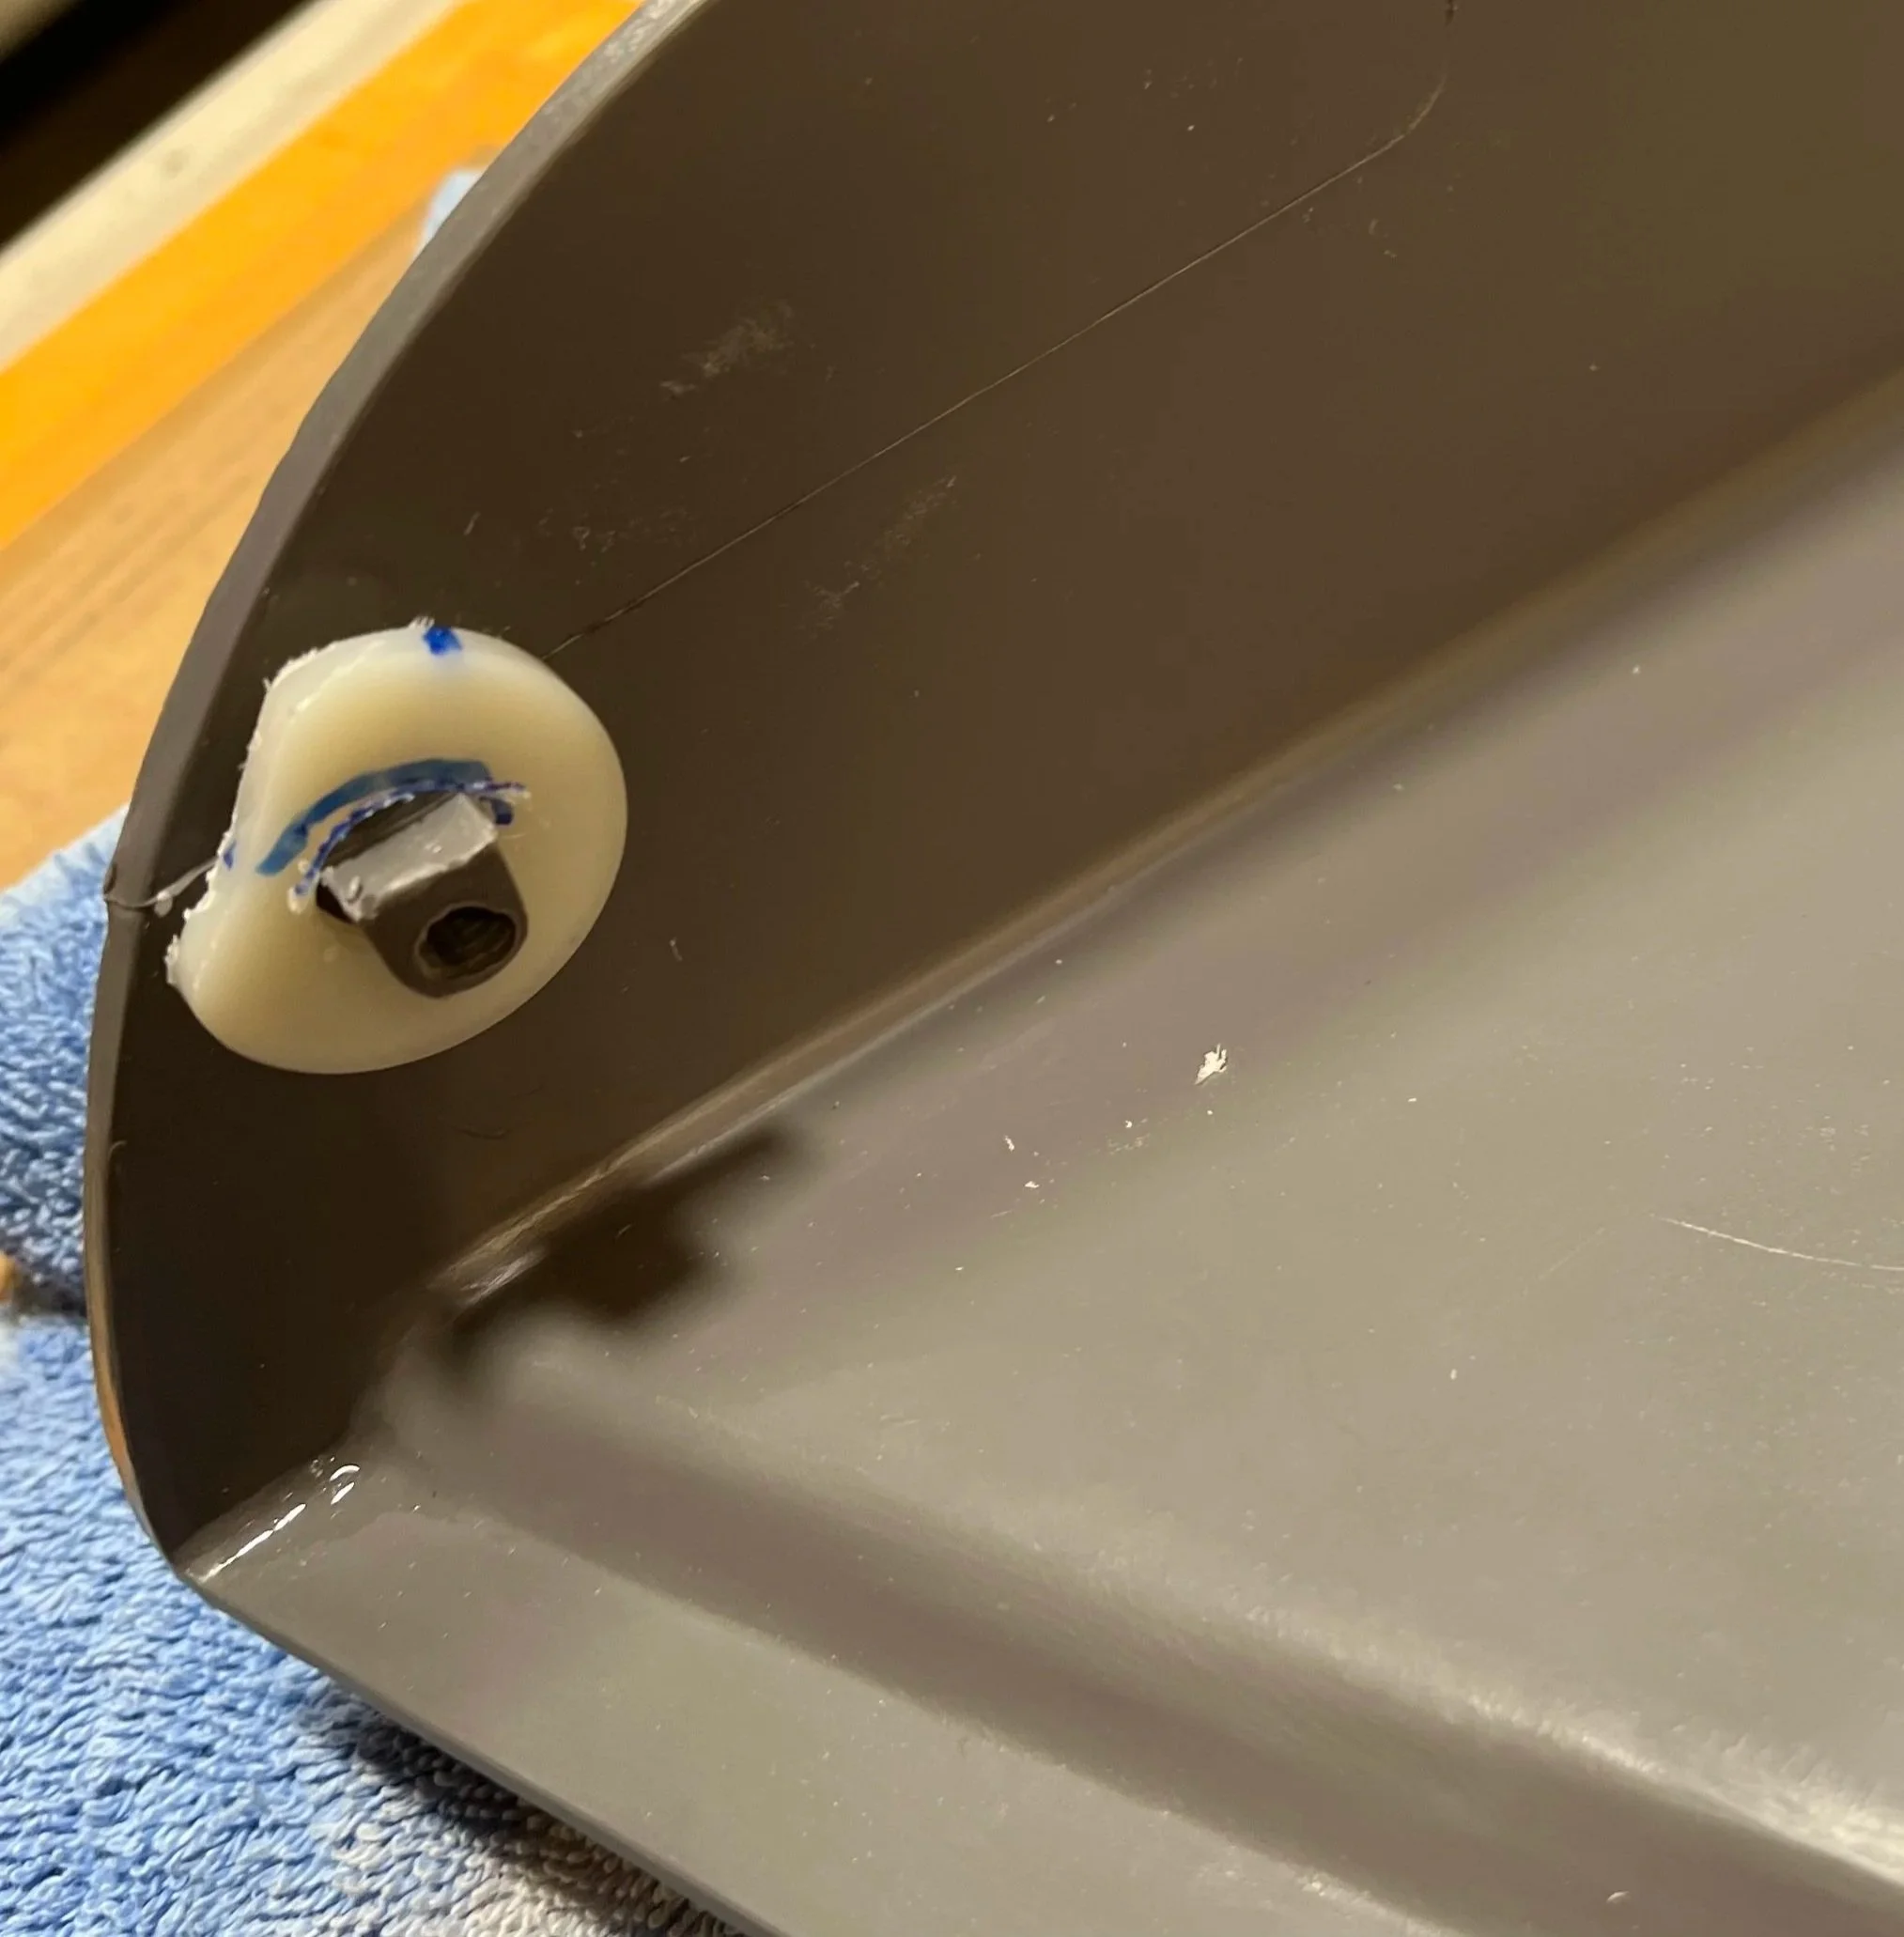
Part of strengthening trim supports and fastening points (pre-epoxy),
Repaired and insulated trim piece difference.
Non-insulated interior door (no inner door panel).